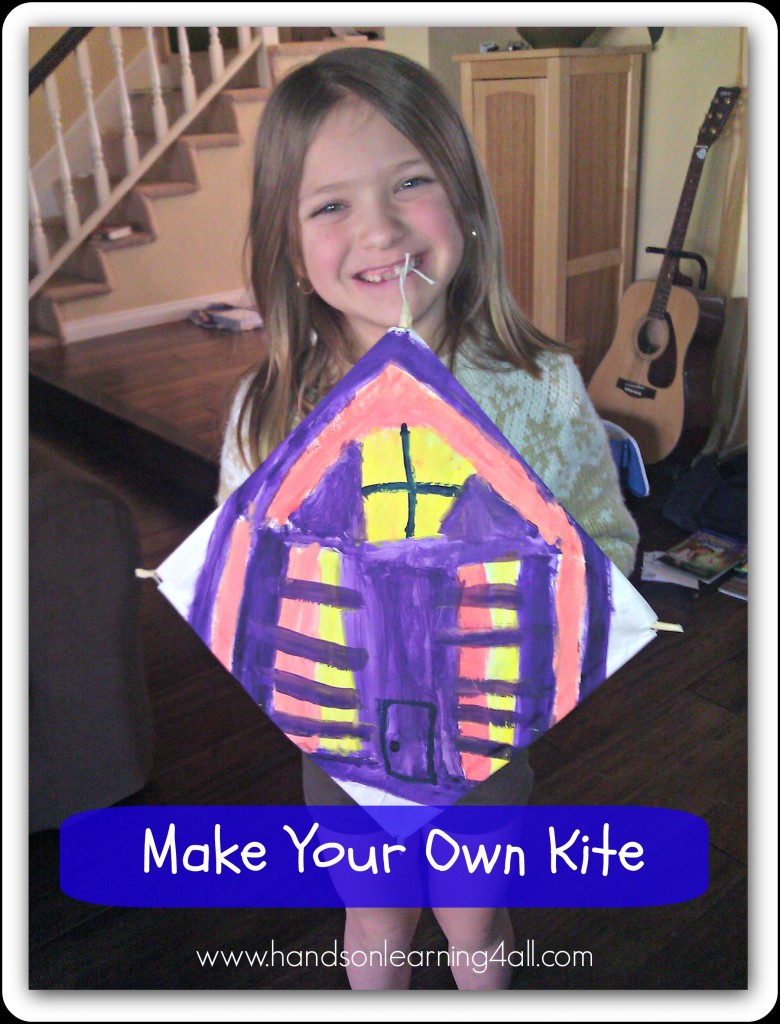
There is something about kite making that is whimsical and fantastic. Ever since the first time we watched Mary Poppins together we have LOVED flying kites on a windy day. This year my daughter wanted to make her own kite just like the one in Mary Poppins. So we looked up a few ways to do it and got crafting.
Step 1: We did not have a thin dowel rod, so we glued and taped a few Chinese Take-out chop sticks together.
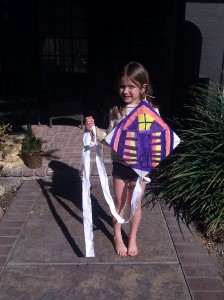
Step 2: My daughter painted a design on a large sheet of craft paper and then we cut it into the traditional diamond shape.
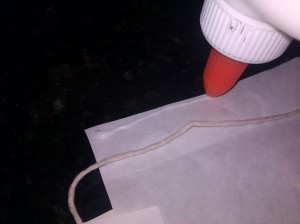
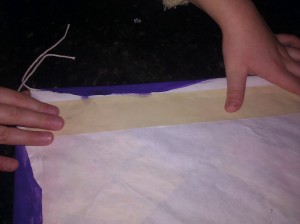
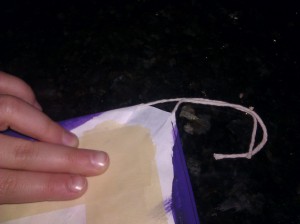
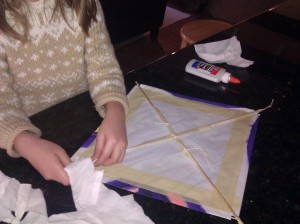
Step 3: We lined up our chop sticks to extend through the center of our kite to the points and then looped string around all of the four sides.(We used butchers string for use in the kitchen but any sturdy string will do.) We folded the sides of the kite paper over the string and carefully glued and taped down the edges.
Step 4: We pulled the string that is resting on the tip of each chop stick tight and tied off the bottom of the string to complete the frame around the kite.
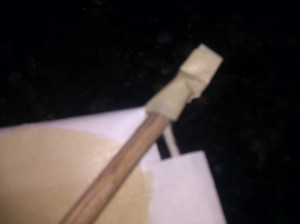
Step 5: We taped the string to the chop sticks at each corner to secure them together and make a sturdy frame.
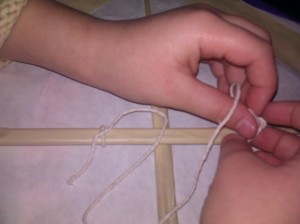
Step 6: We tied a small loop of string on the center chop stick. This string serves as the attachment point for our long kite string.
Step 7: We tied on a very long piece of fabric as the tail to the bottom of the kite. (We used an old sheet that we cut into strips. We started off with a 6′ kite tail but the kite spun in the air, so we added another strip of fabric and ended up using a 12′ kite tail to steady the flight of our kite.)
I hope that you will sing “Let’s Go Fly a Kite” with your kiddos while you fly your homemade kites!

Oh THANK YOU, THANK YOU, THANK You for sharing this. I’ve alawys wanted to know how to make this and now I do. I’ll be making these for my new home, we are hoping to move in January next year – yipee can’t wait to leave the cold and rain in Scotland, for the cold and rain in Wales, U.K