Arts and Crafts: Chinese Lantern

Chinese Lanterns

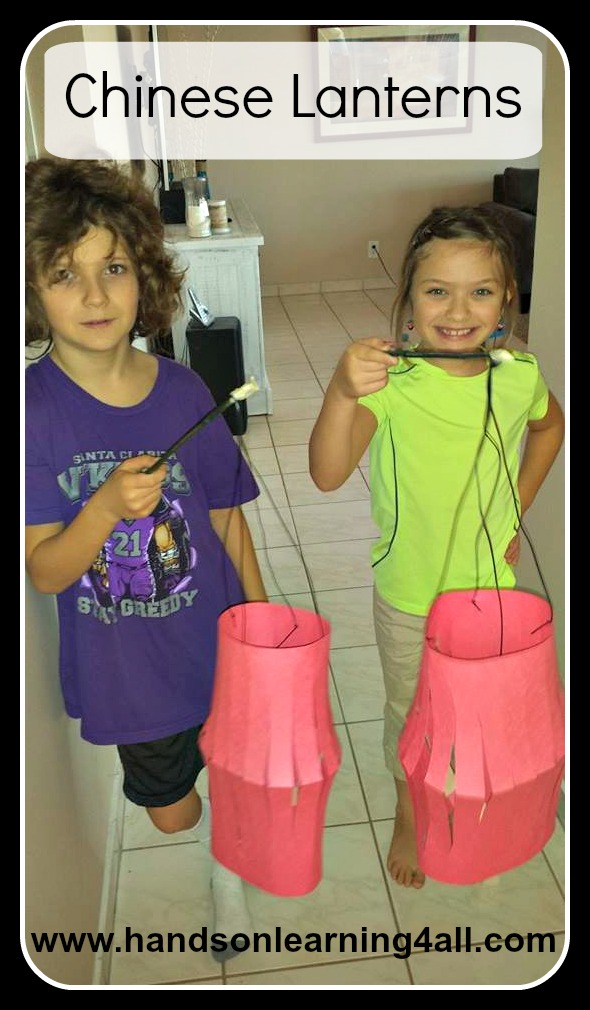
Today we learned about Genghis Khan. We wanted to do an arts and crafts project, but let’s face it Genghis Khan wasn’t an ‘artsy craftsy’ fellow so, we decided to work off of the Chinese portion of the lesson and make some Chinese Lanterns.

I was surprised by the excitement of my children toward this simple craft! So I wanted to share this lesson with you.

Materials: (makes one lantern)
1, 11″x18″ piece of construction paper
1 Chop stick
2 pieces of string (approximately 18″ each)
Masking Tape
1 Flameless tea light

Preparing the paper:

First we took a standard 11″x18″ piece of construction paper and folded it in half ‘hot dog’ style.

Then we measured with our rulers and marked off 1″ increments along the long edge of the paper.

We made an additional line at the opposite side of our markings along the entire edge about 1″ in from the edge. (This would be the place to stop cutting.)

Finally we cut straight lines from our measured markings to the ‘stop line’.

10417562_10206003247426016_6953660053500074109_n

Assembly:
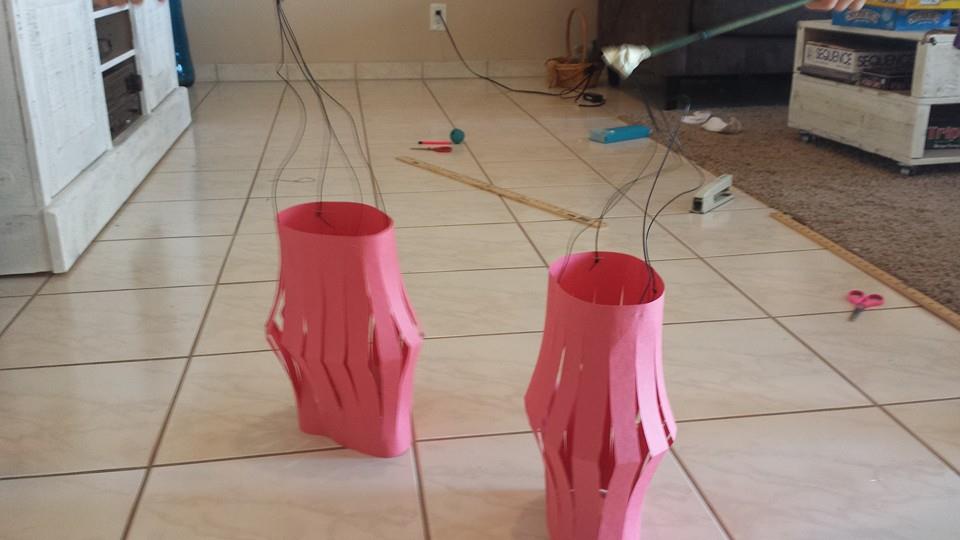
We opened up the folded paper and curled the opened paper into the lantern shape. Then stapled the two short ends of the construction paper together at the top and the bottom of the lantern.

We cut one small strip of paper and fastened it across the bottom of the lantern to hold our candles. (flameless tea lights)

We stapled the strings to the top of our lantern and attached them to a stick with tape.

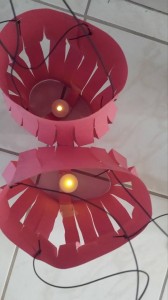
That’s it. My children took their finished lanterns into a darkened room and bounced them up and down. They both remarked how much the finished lanterns looked like ‘jellyfish’ with the tea lights reflecting inside.

With Chinese New Year coming up I thought this activity also would be fun to share with some of our book club friends too. I hope your children enjoy this craft as much as mine did.

10929021_10206003247146009_8826311810408736420_n

At Home Science: Soil Layers

Soil Layers

Yesterday we sat down with our science books and read about soil layers. Well, if you have read any of my blog posts or even the title of this page you know that ‘reading’ about soil layers was not going to do at this house! So, I sent my children out with a spoon and a jar to collect some soil. I gave them a small list that read something like this:

Rocks and pebbles
sandy soil
bark and leaves

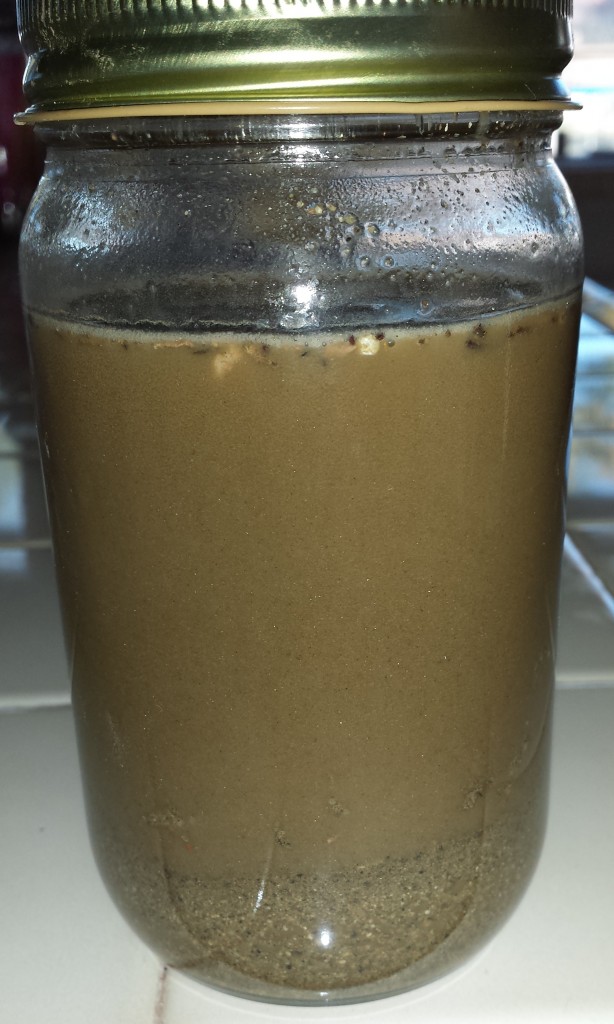
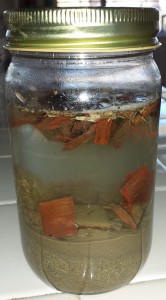
When they came back indoors with their jars 1/2 full we added some water and left a space at the top of the jar for air. Then we shook up the jars. I asked my children to draw a picture of what they saw and describe it. Frankly there wasn’t much to see it was pretty muddy in there.

20150113_100544

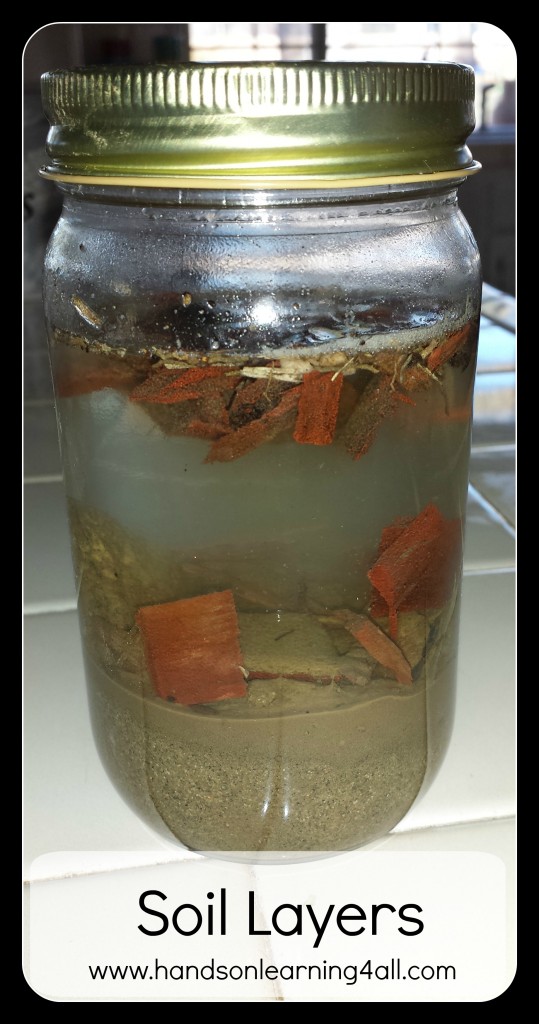
Then we let the jar settle undisturbed on the counter for a few hours and then made another observation. This one was much more descriptive. We were surprised to notice that the large rocks settled on top of the silt and sand at the bottom of the jar. We were also surprised by how clear the water became.

20150113_100512

What did we discuss? We talked about density and how the items that were more dense settled to the bottom of the jar while the items such as the bark and leaves floated on top of the water. We made connections with our history study of the Nile river and how it flooded and made the soil rich for the farmers to grow crops. Finally we drew conclusions on the importance of each layer in the jar in relationship to living things. How insects live in and eat the leaves and bark and break them down into smaller bits which enrich the soil with nutrients for plant roots to absorb. Healthy plant make the healthy food we eat. We discussed how the rocks provided shelter for the wood lice (rolly polly bugs) and ants and made additional connections about how those insects help to aerate the soil which is important for plants to grow.

Of course then my children went back outside to play in the mud….because….mud is FUN!

At Home Science: PH, Acids and Bases

At Home Science-PH

Materials:
PH test strips (We used these.)
coffee
windex
bleach
almond oil (any kitchen oil will do)
milk of magnesia
baking soda and water (2tsp baking soda 2 oz water mixed)
vinegar (we used rice wine but any vinegar will do)
hydrogen peroxide
small plastic cups (we used old medicine cups.)
notecards
marker
Protective eyewear
plastic or latex gloves
apron or smock
notebook or journal and pencil

10406431_10152666480529779_709361969902777502_n

Procedure:
1. I laminated the PH reading card that came with our PH test strips so that any stray liquids that may spill on it would not damage the card and prevent us from using it for an accurate reading. I also printed a Testing for Acids and Bases-Background and a Testing for Acids and Bases Experiment Log.
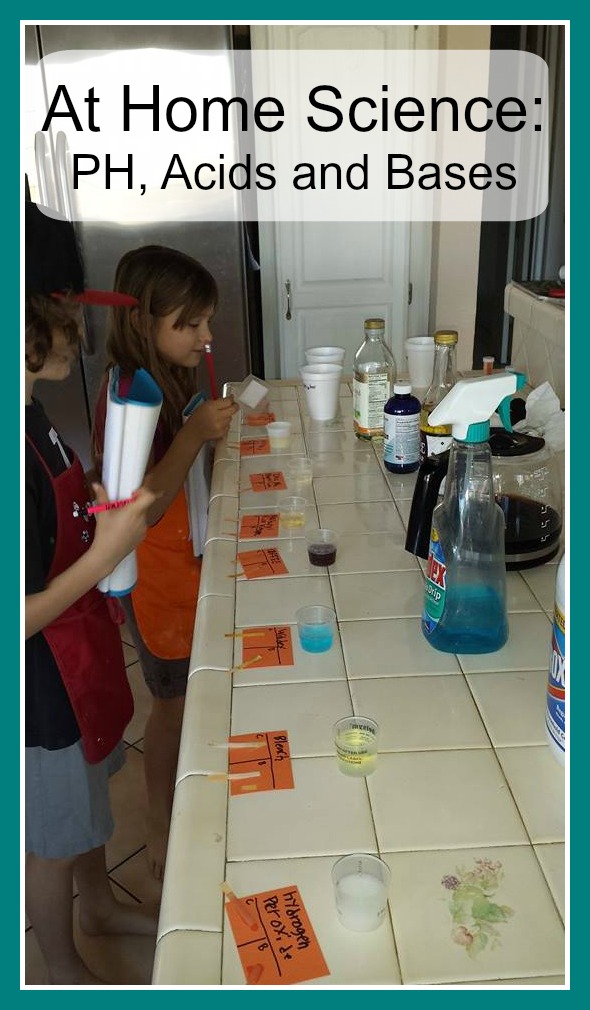
2. We set up our testing station with our items for testing. We placed a labeled index card in front of each testing liquid to put our test strips on after we dipped them in the liquid. We poured a sample of each liquid into the small plastic cups and placed the samples in front of the larger item.
3. We put on our safety gear–> goggles, gloves and aprons.
4. We discussed what we already knew about acids and bases and read the Testing for Acids and Bases Background Document.
5. We began testing by dipping a PH strip into each solution about 1/2 way for about 1 second. Then we placed the wet strip on the index card marked with the liquid tested and observed the results. We continued this process for all of the liquids.
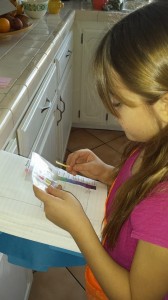
6. We recorded our results on the Testing for Acids and Bases Experiment Log.
7. We completed the Additional Testing section of the Experiment log by mixing the baking soda and water solution with the vinegar and testing the mixture with a PH strip and recorded our results.
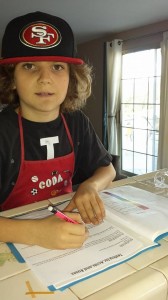
8. We finished by writing about the experiment in our own words.

10429834_10152666480579779_7456625594425438223_n

This lesson was very exciting for the children and they came up with all kinds of new thoughts and experiments that they wanted to try. This lesson was also a great extension of our At Home Science: Make Your Own Fire Extinguisher (Learn about O2 and CO2) lesson.

At Home Science: Make a Fire Extinguisher (Learn about O2 and CO2)

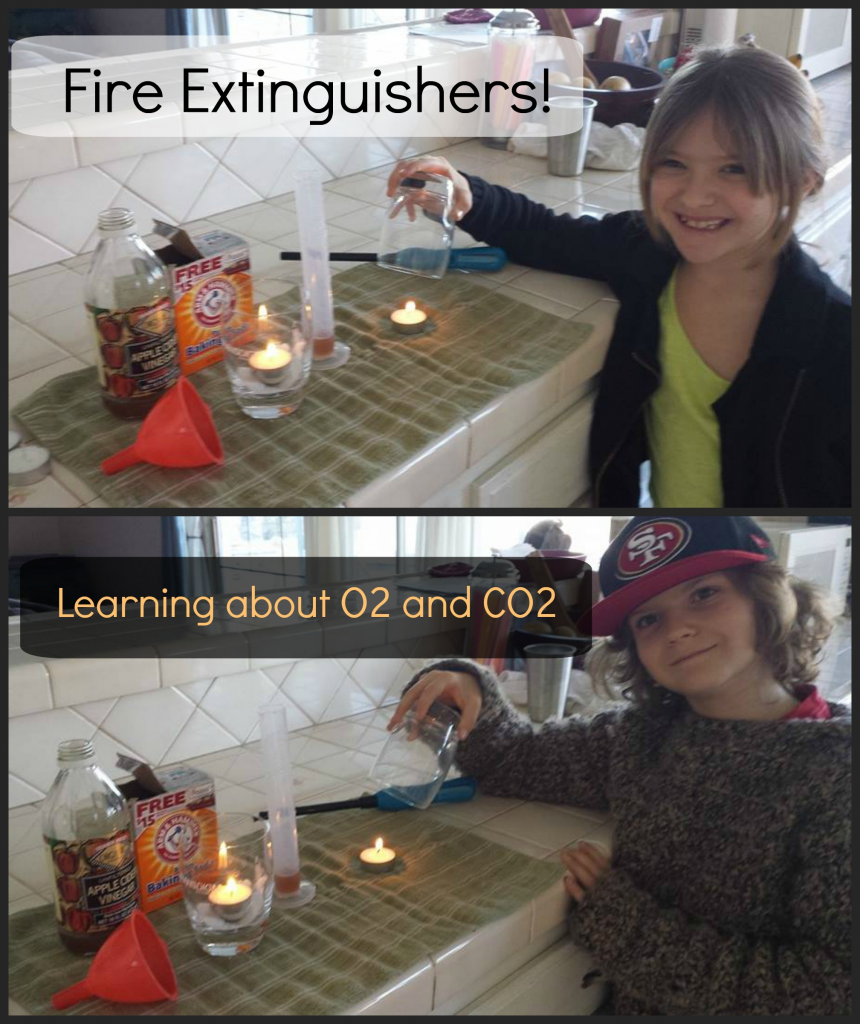
Fire Extinguishers
This is our first full week back to homeschool after the holiday break and I have decided to make it a science filled learning adventure! Today we learned about oxygen (O2) and carbon dioxide (CO2) by attempting to make an at home fire extinguisher.

First we got our materials ready:
baking soda
apple cider vinegar (any vinegar will do)
two small glasses
two measuring devices (we used graduated cylinders like these)
small funnel (we needed it to pour the baking soda into our glasses and graduated cylinder, but you could use a teaspoon)
kitchen towel or a small tray
flame igniter or long matches
paper towels (for clean up)

The first experiment that we tried was to extinguish the flame of the candle with the glass. We lit the tea light and then my daughter picked up the glass and placed the glass over the candle. Within a few seconds the flame extinguished and smoke filled the glass. We discussed that the flame needs oxygen, O2, to stay lit. By placing the glass over the candle we limited the amount of O2 that the flame had to use as fuel. Once all of the O2 in the glass was used by the flame the flame no longer had fuel and it went out.

The second experiment that we tried was to create a fire extinguisher by pouring carbon dioxide over the flame. This experiment did not work as planned because we could not start pouring the CO2 (created by baking soda and vinegar in a graduated cylinder) fast enough. So we went on to experiment 3.

For experiment three we measured out equal portions of baking soda and vinegar in our graduated cylinders. Then we placed a tea light candle inside the small glass on top of the vinegar bottle cap. We carefully used the funnel to pour the baking soda all around the candle. (We placed the candle on the cap for additional height.) Then we carefully poured in a small amount of the vinegar until the bubbles rose but did not cover the top of the candle. (We were careful to not pour the vinegar onto the candle flame.) We watched as the flame was extinguished by the CO2. CO2 is heavier than air so the CO2 took the place of the air at the bottom of the glass where the candle flame was therefore replacing the air/fuel for the candle flame and it extinguished the flame. We then tried to relight the candle with our flame lighter and could not. The flame would not ignite because we had the tip of the flame lighter in the area of the glass where the CO2 was filling the glass. We then disturbed the CO2 by blowing air into the glass. We tried to ignite the candle once more and were successful because we had now pushed he CO2 out of the glass and replaced it with air again, therefore providing fuel for our flame.

What did we learn?
-Air and all gasses take up space
-CO2 is created when you mix baking soda and vinegar
-CO2 is heavier than air
-Flames need oxygen
-CO2 extinguished flames

After these experiments were complete my children came up with all kinds of additional experiments they would like to try to get the CO2 to pour onto the flame using tubes and tape. I love how these kitchen materials were able to be used in a great way to spark learning and ‘ignite’ the flames of inspiration in my children! I LOVE homeschool!

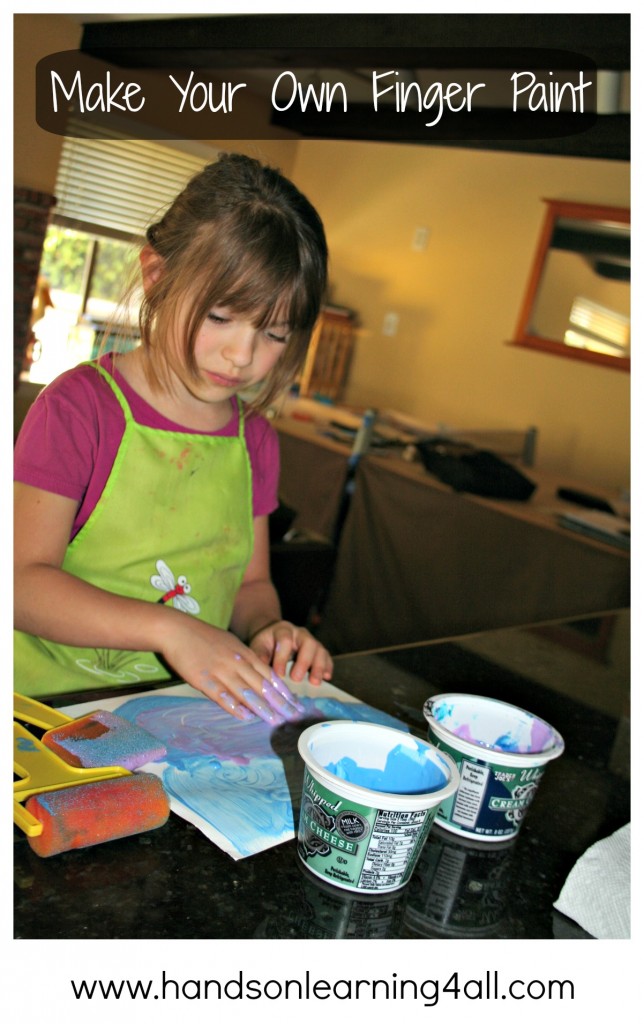
Homemade Finger Paint AND Finger Paint Printing

DIY Finger Paint

My daughter wanted to do some finger painting and we were fresh out of finger paint. So I whipped together this recipe that ‘slips’ just like finger paint does beneath the fingers.

Materials:
1 tsp of dish soap
2 tbs of tempera paint

Then I gave her a piece of finger paint paper (high gloss) and let her go. Well, it didn’t take long for her to fill that paper….and the next one….and the next one. AND I noticed that she was just enjoying the texture and the color mixing of the paint and not really painting any particular picture. So the next part of this art project was pretty creative.

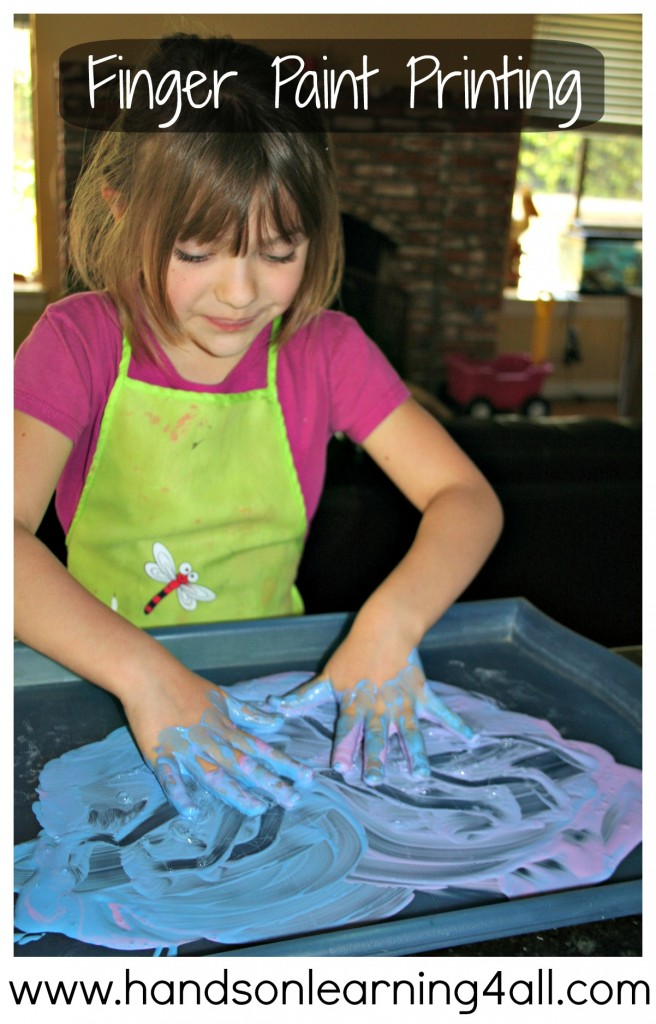
Finger Paint Printing

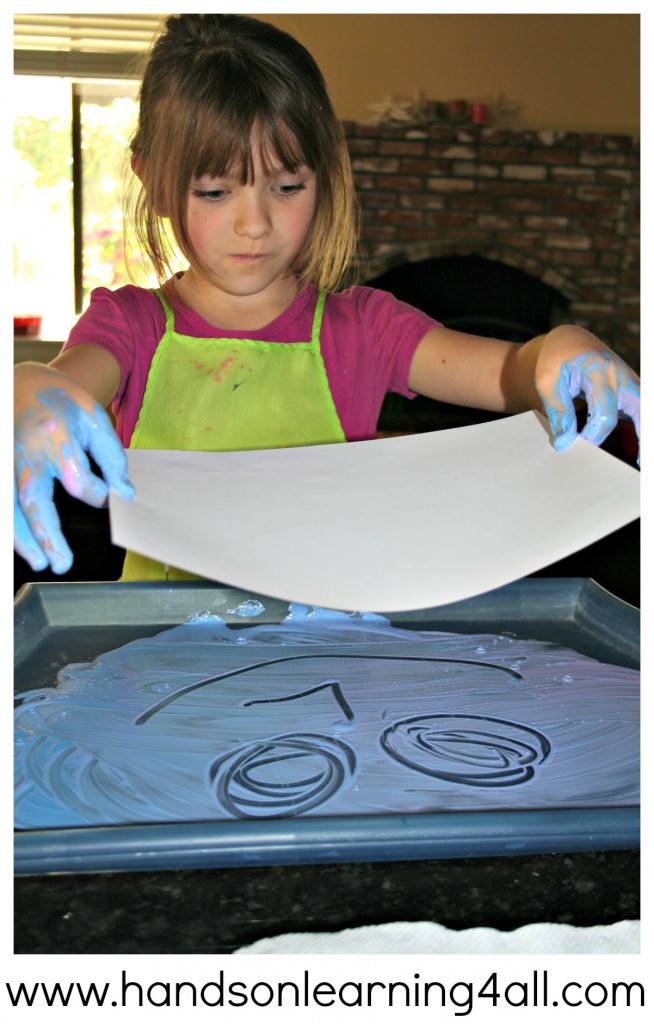
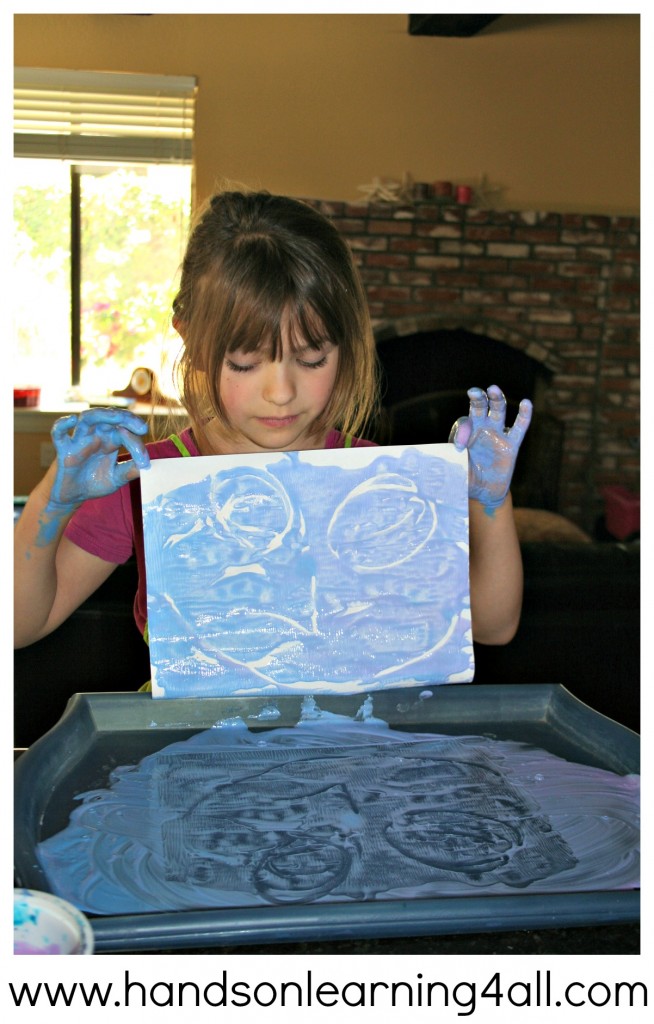
I decided to get out one of our plastic serving trays and put the finger paints directly on the tray. She enjoyed swirling the colors together. Next she used her finger to ‘carve’ a design of a face out of the paint. It was a really good face and she wanted to save it….so we decided to make a print out of it. She got a regular piece of construction paper and carefully put it on top of the paint on the tray. She barely pushed on the paper because she didn’t want the paint to ‘smoosh’ beneath the paper and lose her design.

Finger Paint Printing 2

She carefully peeled up the paper and she saw her print. Her brother began talking to her about printing in the ‘old days’ and how her art was very similar to the ‘old style’ of printing. She continued to print another copy of the face. Then she got more finger paint on the tray and made a new drawing.

Finger Paint Printing 3

This project was such a great tactile experience but also a great lead-in to learning about the history of printing. We looked up pictures on the internet of old printing presses and found some books at the library. Check out the links below!

jpeg

A link to the biography of Johannes Gutenberg: http://www.ducksters.com/biography/johannes_gutenberg.php

A link to the International Printing Museum in Carson,CA: http://www.printmuseum.org/

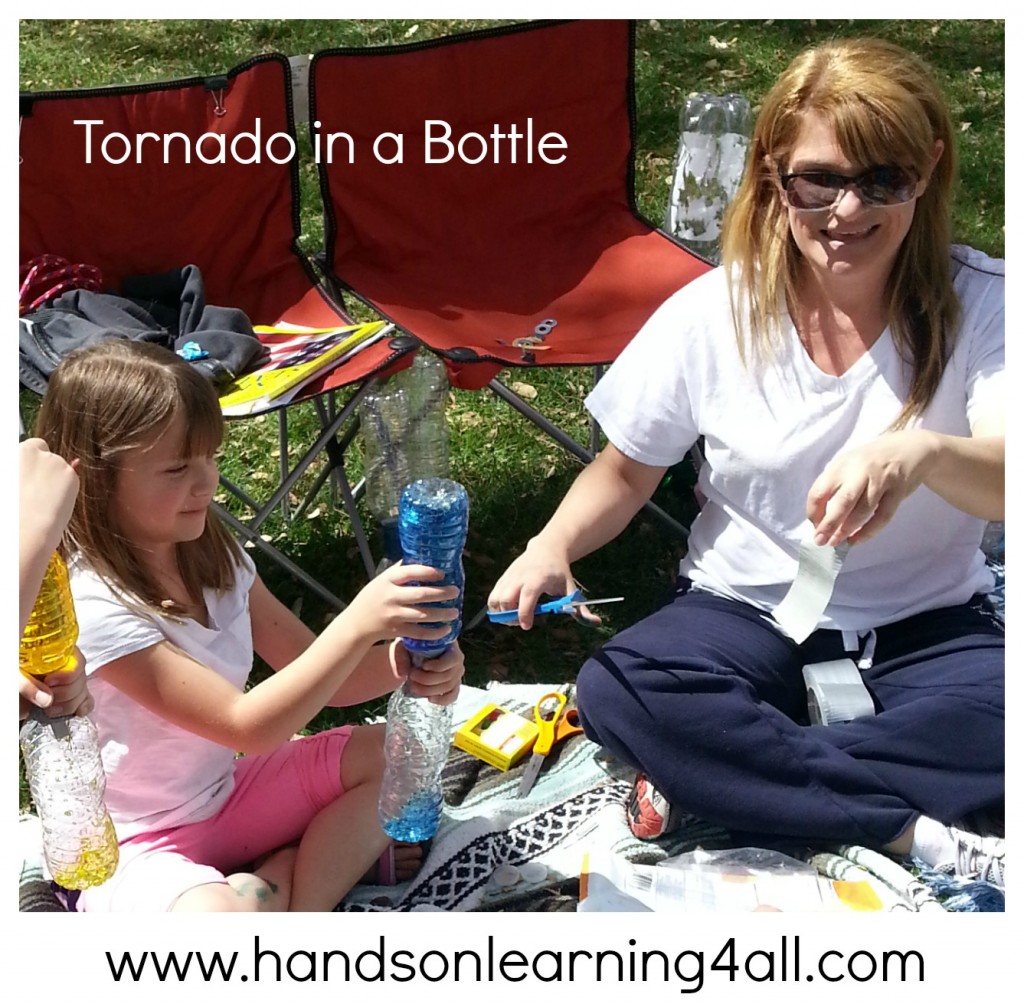
Tornado in a Bottle

Tornado in a Bottle

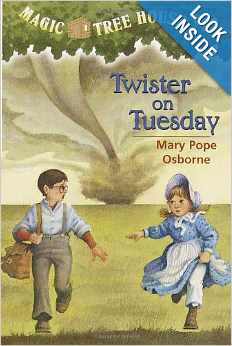
I lead a small book club for home-schooling students in my area. The book that we discuss at our meetings always comes from the Magic Tree House series by Mary Pope Osborne.

Mary_pope_osborne

This month’s book was Twister on Tuesday. It was an exciting tale about the main characters, Jack and Annie, and their magical trip to the past to visit a one-room schoolhouse on a prairie in the mid-west. During their trip they experience a twister (tornado) and save a group of students and their teacher by knowing about a storm cellar located below their school house.

jpeg

After our book discussion I plan an activity for the students that is relevant to the story. This time I planned the ‘Tornado in a Bottle’ activity.

Here’s how we did it:

Materials needed:
2 water bottles of the same size (one must be empty.)
1 washer that fits on the top of an open water bottle without falling through.
Duct tape
Food coloring (optional)

Assembly:
1. Place the washer on the top of the empty water bottle and fasten it down with two small strips of tape.
2. Carefully open the other water bottle and put a few drops of food coloring into the water. (Too many drops will make it difficult to see your tornado.)
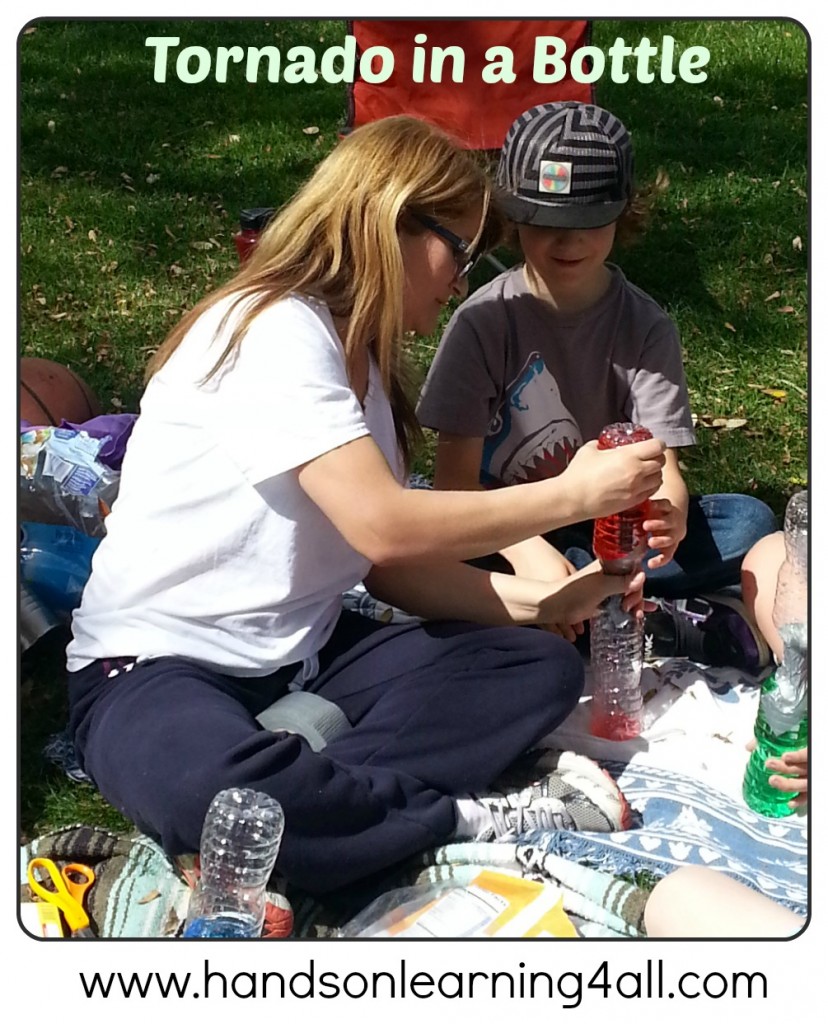
3. Carefully place the empty bottle (with washer attached) on the top of the full bottle with the two openings facing each other. Make sure the openings are aligned.
4. Use the duct tape to tape the two bottle necks together. Use small pieces to get your alignment perfect. Then finish off with several large overlapping pieces to insure a leak-proof seal.

Directions for the Tornado effect:
1. Flip the bottle with the water to the top position by lifting your bottle set by the full bottle. (If you flip by holding the empty bottle your seal make break under the weight of the full bottle of water.)
2. Carefully give your top bottle (one with the water) a swirl by holding the necks of your two bottles with one hand and your other hand will move the top bottle in a fast circular motion. (If you don’t do this part the water will just ‘glug’ into the bottom bottle.)
3. The vortex or ‘tornado’ will form as the water moves from the top bottle to the bottom bottle.

Tornado in a Bottle 2

Why does this happen?
While the water wants to flow to the bottom bottle because of gravity, the air needs to flow upward toward the top bottle to fill in the space of the missing water. By swirling the bottles and creating the vortex, you have created the most efficient way for the water to flow quickly to the bottom bottle by swirling around the outside of the bottle while simultaneously allowing the air to move to the top bottle through the ‘hole’ in the vortex.

To complete the bottle assembly I grouped the students into pairs and they assembled one bottle set at a time. I distributed the duct tape in sections to each student set so the students didn’t have to fumble with tape and scissors while steadying the bottles for assembly. The entire project took less than 30 minutes for 5 student pairs to complete. The students really enjoyed swirling their bottles to create the ‘tornadoes.’ Some of the moms enjoyed watching the ‘tornadoes’ so much they continued to swirl them after the kiddos had run off to play at the park!

Here’s a link to the book, Twister on Tuesday: http://amzn.to/1mfIGnm

To learn more about real tornadoes you can visit this site: http://www.weatherwizkids.com/weather-tornado.htm