Hands on Learning Story Time: Triple Delight Birthday

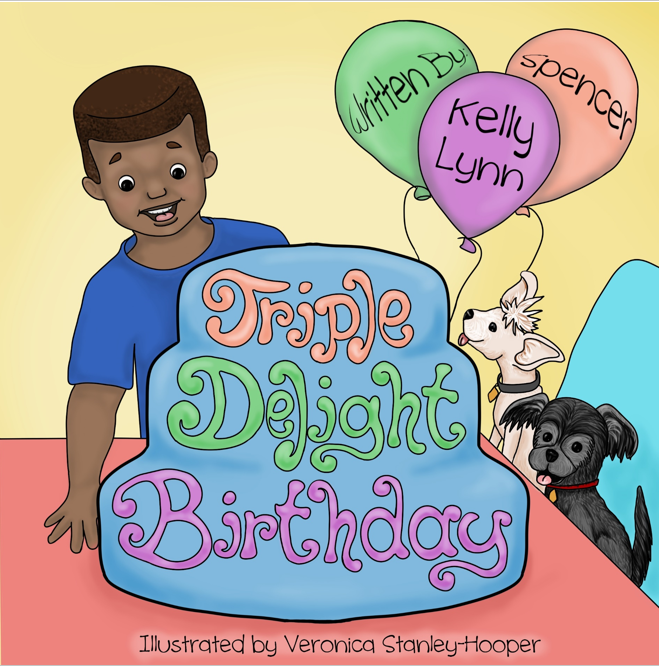
Triple Delight Birthday by Kelly Lynn Spencer
https://amzn.to/3twM8Qv (affiliate link)

Good News! Triple Delight Birthday written by Kelly Lynn Spencer and illustrated by ME (Veronica Stanley-Hooper) is available on Amazon.com (https://amzn.to/3twM8Qv) affiliate link.

This book was so much fun to illustrate! It’s all about a young boy named Tim who is allowed to adopt a dog for his birthday, but when he gets to the shelter, he learns that all of the cute dogs are taken. With the help of his dad, Tim learns a powerful lesson of love and acceptance.

AND you can find the Hands on Learning Story Time reading of this delightful book here: https://youtu.be/6V_r6tSWtzc

Want even more good news? Here is a FREE game that goes along with the book and the video!

Download the FREE Doggie Dice Game- Numbers and Counting :

More about Kelly

Kelly Lynn Spencer’s passion is to empower youth and singles who have experienced pain and rejection by teaching practical principles through the Word of God. She is a born motivator and encourager who is known to ask, “How are you percolating?” To her, percolate means that someone is energized, producing, and ready to birth (pour out) their purpose. Just like a coffee percolator, she uses her wit and Godly wisdom to help others produce a robust and flavorful life. Read more here: https://iamkellyspencer.com

I had so much fun illustrating this book and I feel good about it’s important message. I hope that you stop on by my YouTube Channel https://www.youtube.com/c/Handsonlearning4allg/ to watch me read Triple Delight Birthday and play the Doggie Dice Game! Remember to LIKE and Subscribe to the Hands on Learning and Story Time Channel to see all of my latest videos.

Comment below after you listen to the reading and play the game!

Hands On Learning Story Time on YouTube

Hands on Learning Story Time is LIVE on YouTube. My new channel is a kid-safe place for your children to explore. It is full of fun stories and activities that are sure to entertain your learners.

The books presented are for ages 3 through 10. The themed activities and crafts are fun for kids of all ages. So far on the channel we have the following books and crafts:

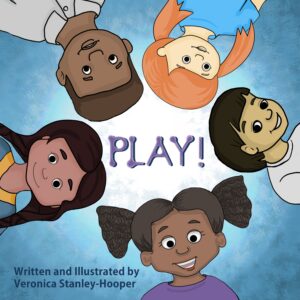
PLAY! by Veronica Stanley-Hooper

This fun story is written for children from 3-7 years old. The storyline focuses on a typical day of play as told through a child’s perspective. With a focus on social-emotional intelligence and careers, each character describes how they play and how it makes them feel. The diverse characters offer reflections of all children within the pages of this entertaining story.
Download a FREE lesson plan to go with this book below!

Want to buy this book for your child’s library? (It is FULL of fun ideas for play! When your child says, “I’m bored,” you can pull out this book and explore a lot of choices for fun things to play! The links for purchase options are below:

Buy on Amazon: https://amzn.to/3wN0Sgc
Buy on Barnes and Noble: https://bit.ly/3g2KJ0e
Buy on OakieBees: https://oakiebees.com/products/play

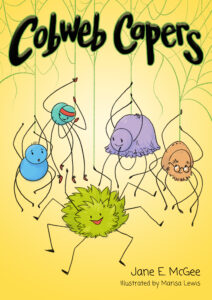
Cobweb Capers by Dr. J.E. McGee

The ‘Cobweb Capers’ stories show these little guys (spiders) are full of personality, much like the cats and dogs we share our homes with! They include AJ, the athletic spider, who can run faster than most of the male spiders in the area, Clay, the naughty spider, Marley, the sensible spider, Mirabelle, the creative spider, and Orson, the poetic spider who only speaks in rhyme.
This collection of stories is written for students ages 5-8 years old.

Want to buy this book for your learners?
Link to Paperback book on Amazon: https://amzn.to/2P05Xju
30% of the royalties of the book are donated to Bug Life an invertebrate charity

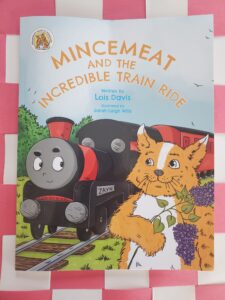
Mincemeat and the Incredible Train Ride by Lois Davis

Meet Mincemeat: a kind, devoted and human-sized ginger cat, who lives with Great-Grandma in the village of Howdoyoudo. Mincemeat loves sewing, dancing and his motorbike. But not as much as he loves baking! He and Great-Grandma embark on all kinds of crazy adventures – like their journey to visit Aunt Petunia. Zayn is a locomotive with a secret dream. To become an express train! When he makes that dream a reality, can his driver, Berkeley Butterfingers, do anything to avert a catastrophe?

Want to buy this book for your children?
Link to book on Amazon: https://amzn.to/3vL7tqZ
Here’s the video to the second part of Mincemeat and the Incredible Train Ride

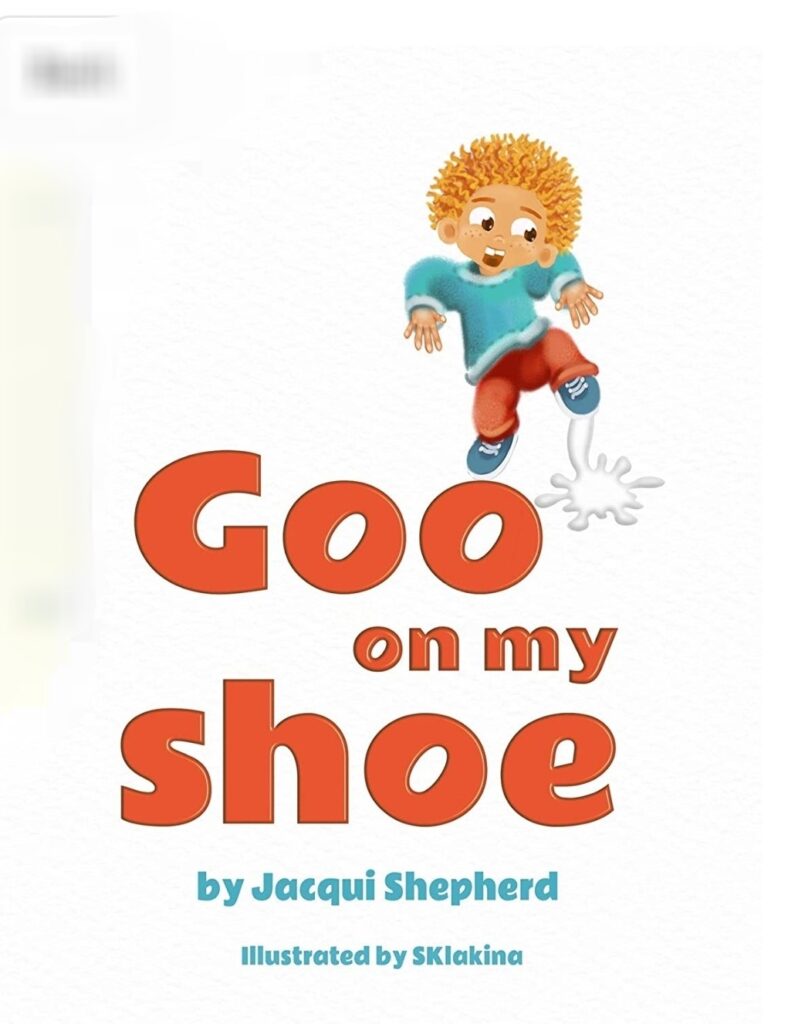
Goo on My Shoe by Jacqui Shepard

This fun rhyming story is sure to entertain your children. It’s a story about a child who finds some GOO on the bottom of his new shoes. He tries a lot of things, but finds there is only one person that can help….MOM!

Want to buy a copy of this fun story for your child?
Amazon: https://www.amazon.com/dp/B082DMQ9WV

If you like fun crafts and a few minutes to yourself, SUBSCRIBE and LIKE Hands on Learning Story Time on YouTube
https://www.youtube.com/c/Handsonlearning4allg/

Remember to leave a comment below with a story suggestion for Hands on Learning Story Time!

Egg-cellent Egg Experiments: Egg Drop of Doom!

Egg drop of doom

If you liked the first Egg-cellent Egg Experiment: Rubber Eggs your little engineer is going to love this egg-speriment called the Egg Drop of Doom.
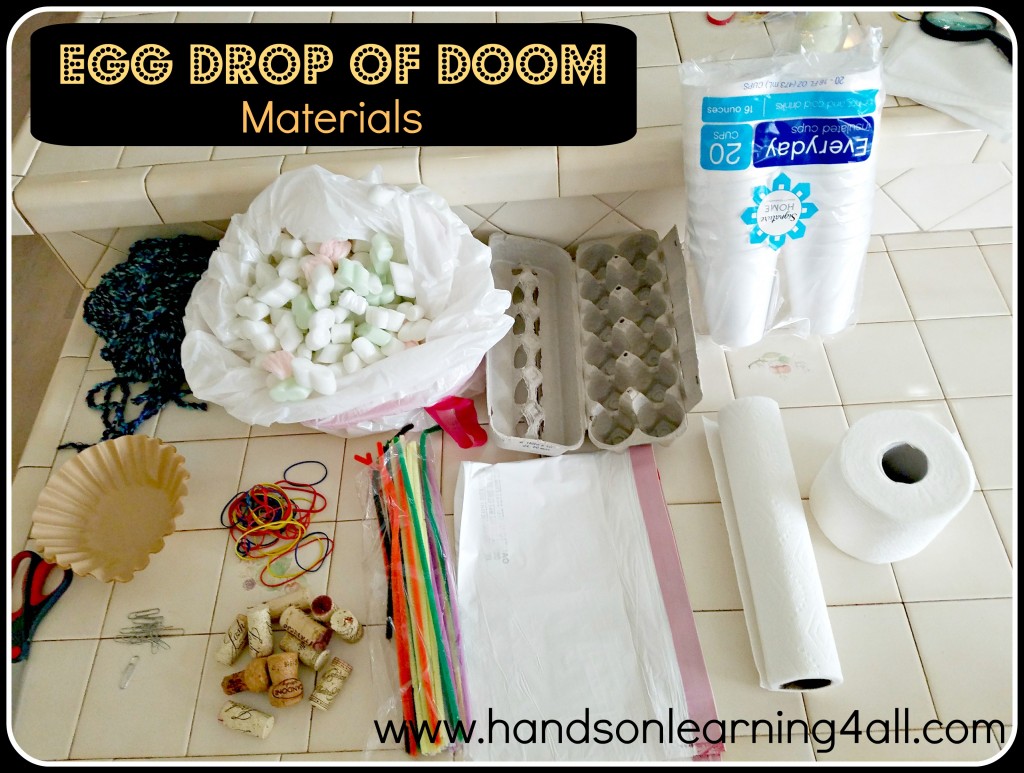
Egg drop of doom

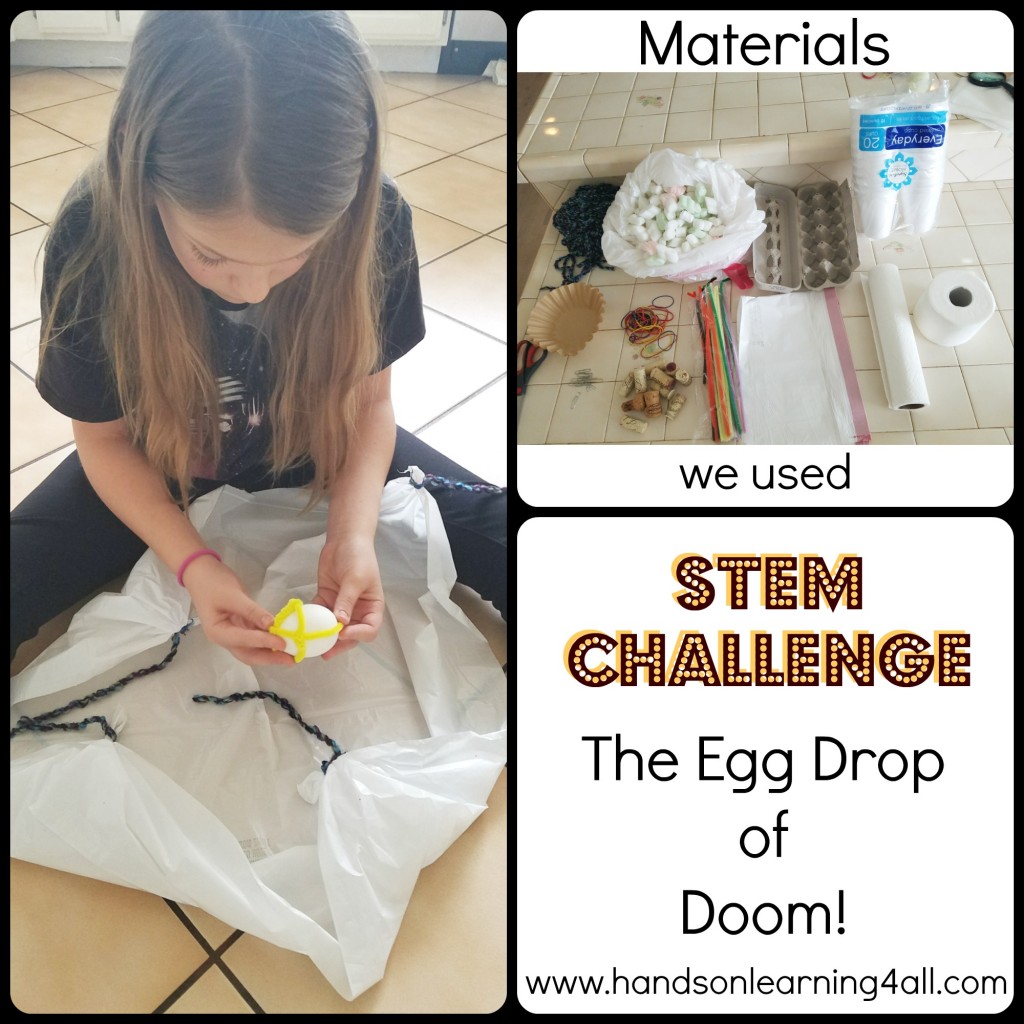
*Materials Used:

4 hard boiled eggs
Styrofoam cups
Rubber bands
Pipe cleaners
Paper clips
Bathroom tissue
Egg Cartons
Foam packing peanuts
Corks
Yarn
Paper towels
Boxes (not pictured)
Plastic trash bags
Scissors
Duct Tape and clear gift tape (not pictured)
An old sheet or plastic table cloth to protect the floor from mess (if necessary)
Stop watch (to record ‘fall time’)
A Chart for recording data

*These are the materials I offered to build the ‘egg saving devices’. Not all of these materials were used by the student. You can add / subtract from this list based on what you have as recycled materials available. Bubble wrap, cardboard tubes, and plastic bottles are some of the materials I might include next time.

What you should do:

Discussion: We talked about the egg shell and how it is actually pretty tough to break if you are just squeezing the egg, but once you apply sudden pressure the shell cracks. We also discussed how this is important for a baby chick who may be developing inside the egg. The mother hen sits on the egg (that’s a lot like our squeezing the egg) and the baby remains safe inside. When the chick needs to get out of the egg (after it is developed) it uses it’s beak and egg tooth to crack the egg with tapping, much like we do when we want to crack unfertilized eggs to eat them.

Next we talked about some of the devices we use to keep us safe in case of sudden impact in the car and on an airplane. We discussed seat belts, air bags, and parachutes. We also discussed bike helmets and pads like elbow and knee pads.

Then I explained the purpose of the challenge was to build two devices that would save the egg from cracking when dropped from about 12 feet off of the ground using the materials displayed and gather data. Then we would build a third device (if necessary) based on the data we collected.

What we did next:
First we developed a system to record the damage that occurred to the egg as a result of a drop. My student developed a measurement scale from zero-five; zero was no damage and five was cracked all over / too many to count.

Then she dropped a control test egg from the 12 foot mark to see what an unprotected fall looked like.

Finally she started on creating her first ‘egg saving device.’
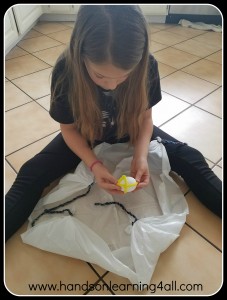
egg drop of doom parachute

I used a stop watch and recorded the time it took for the egg to hit the floor after it was dropped and she dropped the egg from the 12 foot mark which happened to be our second story landing. (You can use an outdoor jungle gym or a ladder too. We decided upon the height of the drop. Your height can be different.)
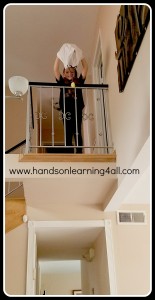
drop of doom parachute

After her first drop she recorded her results onto a chart.

She used a chart like this: (click the picture to download the PDF)
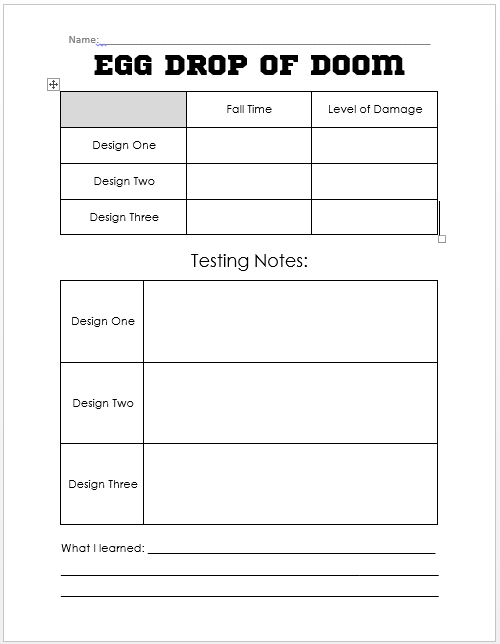
Egg drop of doom chart

Then she began to develop her next egg saving device. She had recently watched the Dumpster Diving Mythbusters episode and thought that a mattress style device might help to break the fall of her egg. She really did some critical thinking with this one. She put the cushioning pads outside the ‘mattress’ center to help protect the egg in case it bounced out of the center of the box. She also decided that the lid provided a nice ramp for the egg to roll down just in case it bounced in that direction.
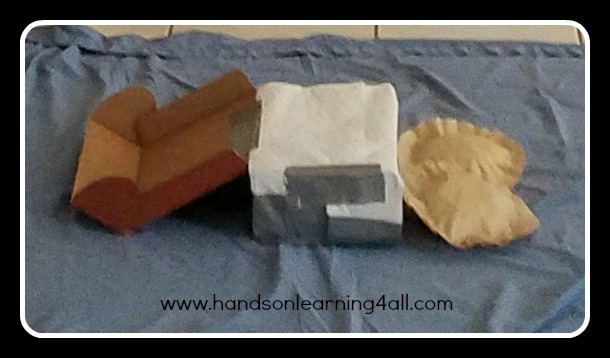
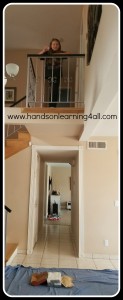
egg drop mattress

egg drop of doom mattress

As luck would have it the egg bounced backward, not to the left or the right. So it was saved by the mattress but then cracked when it bounced out and onto the floor. She then evaluated all of the eggs to come up with another device.
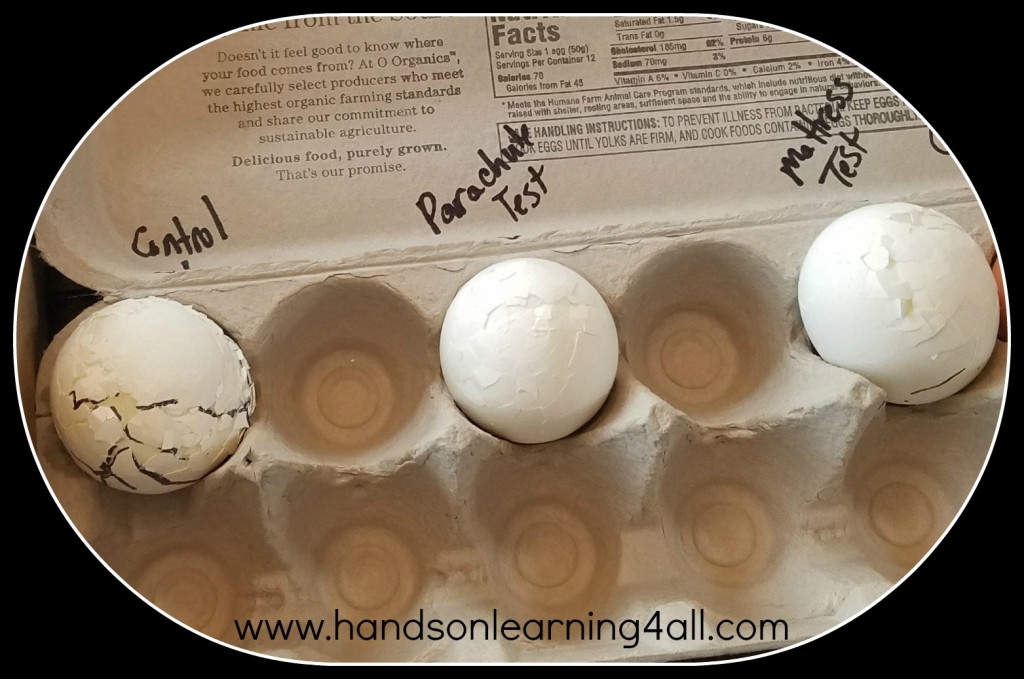
egg drop of doom results

Her final device incorporated her original idea of a parachute and her second idea of a mattress with the added bonus of the egg being trapped within a cushion inside of two cups. The cups would insure that the egg would not be able to bounce out and crack on the floor. (I considered this to be an ingenious idea.) AND after testing she discovered that the egg did indeed fall without injury!
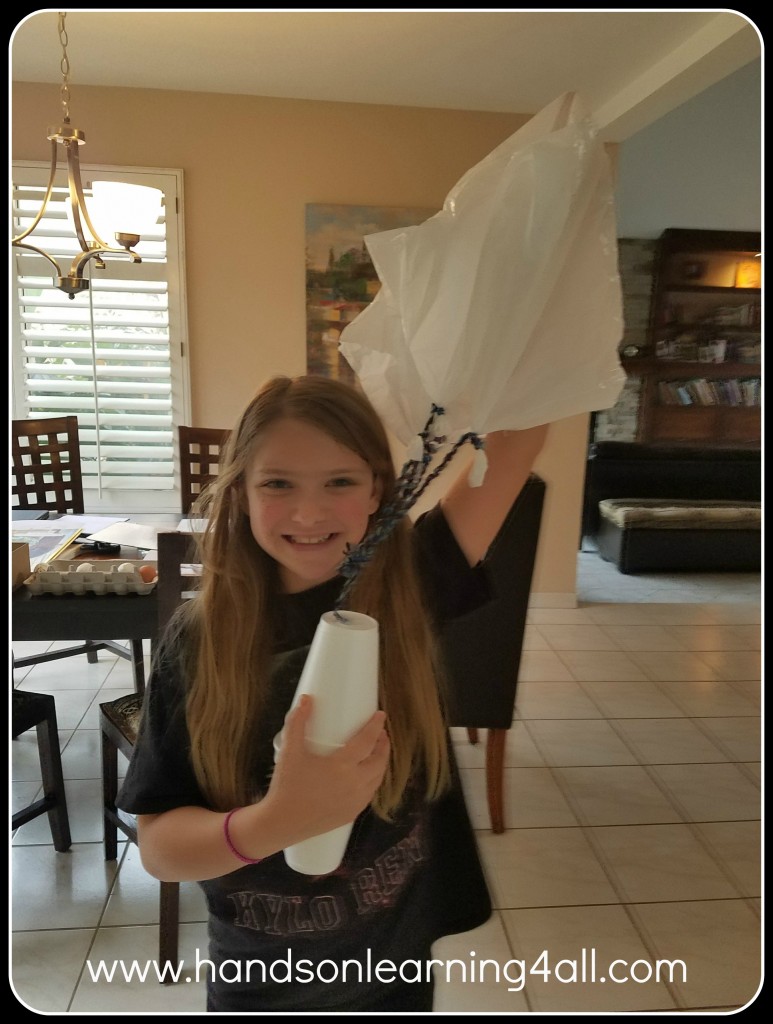
egg drop final

This experiment was so much fun that my husband even felt inspired and tried to make an egg saving device.
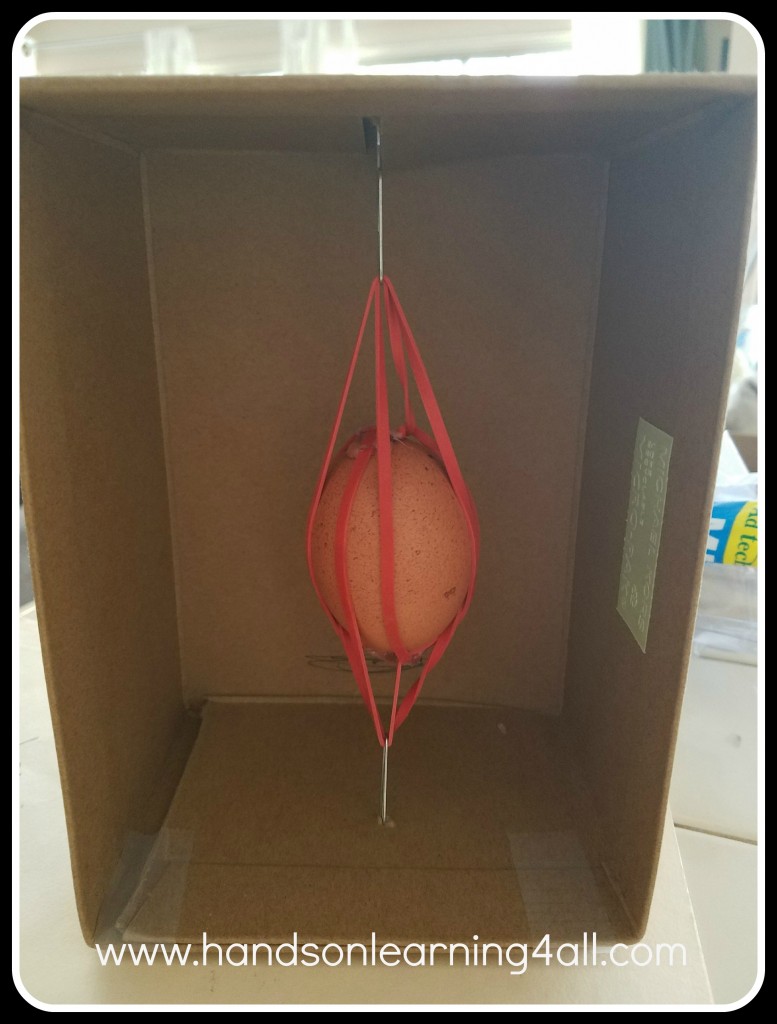
egg drop rubberband

His egg faired well until (like the mattress) it bounced sideways and cracked the egg. Never-the-less this egg-cellent lab was so much fun to do AND a great critical thinking STEM activity.
Ready for one more Egg-cellent Egg activity? Click here for one more science based activity to do with your kiddos that is a fun too!
Egg-cellent Egg Experiments: Rubber Egg

Rubber Eggs

Is it getting close to that time of the year when you are feeling a little ‘hoppy.’ It’s that egg coloring, basket making time of the year. Do your kids love to color the hard boiled eggs, but don’t like to eat them? So what do YOU do with all of the extra hard boiled eggs that you have around the house after Easter? Well at our house we get itchy to do some science!

Egg Experiments

Materials you will need:
1-2 hard boiled eggs
1 glass jar that is tall enough to contain your eggs while they are submerged in vinegar
White vinegar (enough to cover your eggs in the jar)

What you should do:

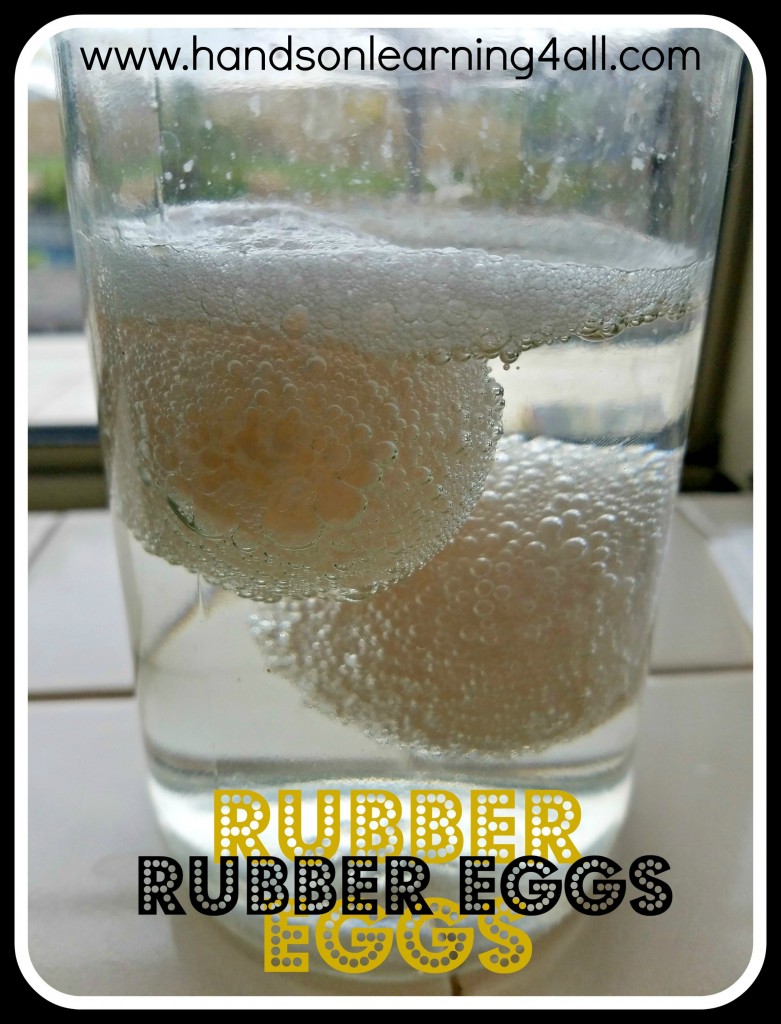
Carefully put your eggs into your glass jar and then pour the vinegar over them until they are covered. You may have to poke them with a spoon every few hours to submerge them back into the vinegar.

What is happening:

Almost immediately you will observe tiny bubbles form all over your eggs. The eggshell is made of calcium and carbonate. The vinegar which is acetic acid starts to break down the shell. The bubbles that you see are the carbon dioxide that is formed when the vinegar breaks down the shell into its basic parts, calcium and carbonate, the carbonate forms carbon dioxide bubbles on the eggs.

What can I do next:

If you wait 24 hours and carefully pull one egg out and put it onto a plate you will see that the shell has been completely dissolved and only the membrane is left to hold the egg together. If you cut the membrane with a knife the egg will ‘pop’ and you will see the liquid white and yolk inside the egg.

Wait about six days to pull out the second egg (you will want to switch out the vinegar once or twice during this time and store your jar in the fridge. At this time your egg will get a bit bigger and the inside of your egg will become more fluid and white. Why? Once the shell is gone, the vinegar will cross over the semi-permeable membrane through a process called “osmosis” and begin to ‘cook’ or pickle the inside while slightly inflating the egg. This egg will bounce, but do it carefully….one little puncture and it will explode into a watery mess.

Want MORE Egg-cellent Egg Experiments? Click through for another great egg-sperience!

Other resources for EGG-cellent learning:

Iowa Egg Council Activity Pages
School Tube: Magic School Bus – Cracks a Yolk
Scholastic’s Activity for Magic School Bus- Cracks a Yolk

Egg-cellent Egg Experiments: Sucking an Egg

sucking an egg

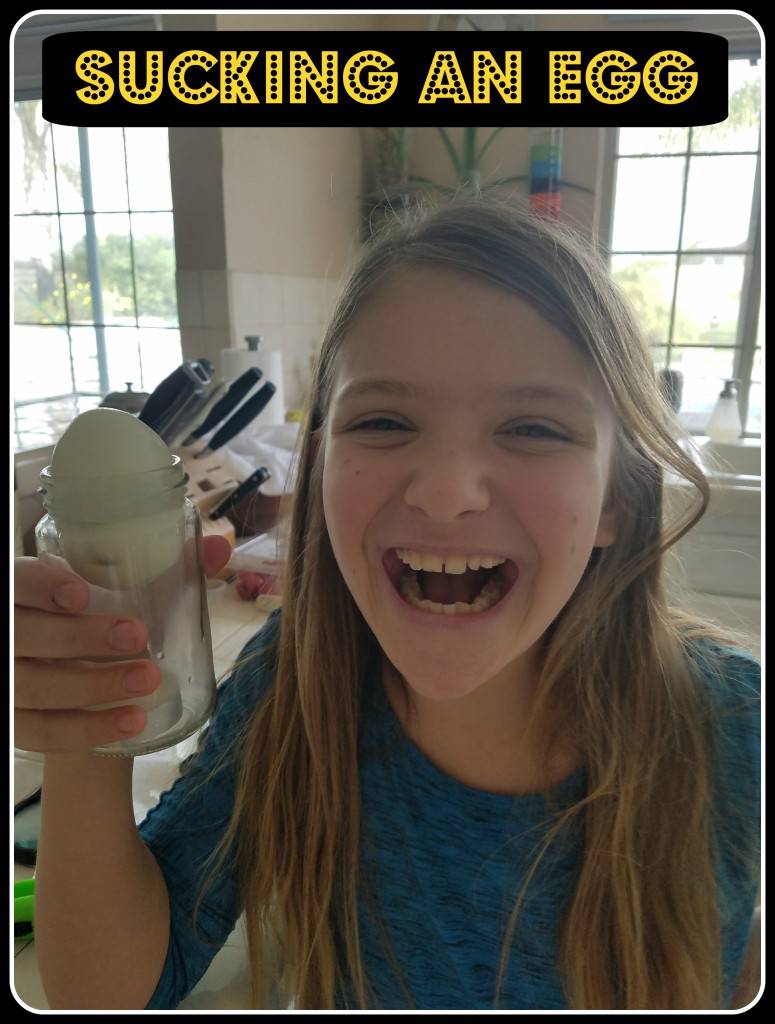
Yes, we are going to suck and egg–> inside of a bottle! If you have been reading our other Egg-cellent Egg posts — Rubber Egg and Egg Drop of Doom — you have seen that hard boiled eggs are a great science tools.

This egg-speriment involves air pressure and heat. When air is heated it expands rapidly, this is the reason a hot air balloon rises. When air is cooled it takes up less space, the reason why the lid of a hot jar gets sucked in a bit when the jar cools on the counter. We are going to use this concept to suck an egg into a bottle.

What you need:

1 Hard boiled egg
1 bottle (We used an old olive jar, but Starbucks frappuchino bottles work too. The mouth needs to be just a bit smaller than the diameter of the hard boiled egg.)
Matches or a candle flame lighter
Vegetable oil (if desired to make the opening of the jar more slick– we did not do this.)
1 tea light candle or strips of paper (we used the tea light candle.)

What you do:

First you peel your hard boiled egg. If you are using oil, now is the time to oil the mouth of the jar. We didn’t do this step. Next you carefully place the tea light at the bottom of your jar. (If you are burning strips of paper instead, you will light the paper and carefully drop the burning paper inside of the jar ***Warning: Fire burns, if you are a child ask a parent to help.*** Finally, quickly place your egg on the mouth of your jar and observe the egg getting sucked into the jar.

What is Happening:

When the candle is lit it causes the air in the jar to warm up and expand. When you place the egg on the mouth of the jar it creates a seal that prevents the expanding air inside the jar from escaping. The flame needs oxygen to burn and once the oxygen inside the jar is depleted the flame extinguishes. The air inside the jar begins to cool and contract creating a vacuum inside the jar. The egg gets sucked into the jar by the vacuum.

Here’s a video that I found on YouTube done by Home Science Tools.

I hope you have as much fun doing these Egg-cellent Egg Experiments as we did. Let me know what you discovered in the comments!

Arts and Crafts: Chinese Lantern

Chinese Lanterns

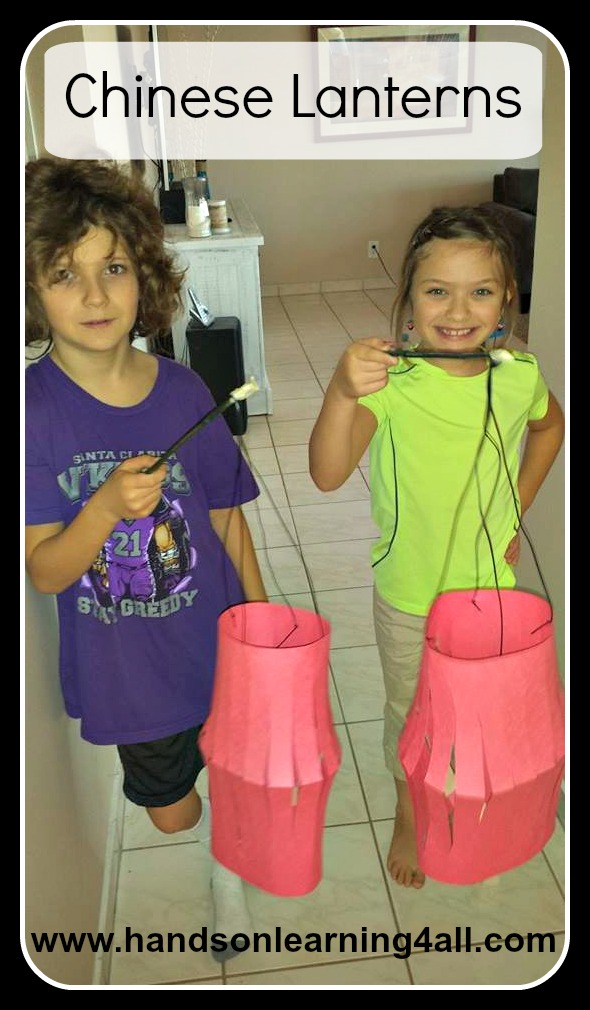
Today we learned about Genghis Khan. We wanted to do an arts and crafts project, but let’s face it Genghis Khan wasn’t an ‘artsy craftsy’ fellow so, we decided to work off of the Chinese portion of the lesson and make some Chinese Lanterns.

I was surprised by the excitement of my children toward this simple craft! So I wanted to share this lesson with you.

Materials: (makes one lantern)
1, 11″x18″ piece of construction paper
1 Chop stick
2 pieces of string (approximately 18″ each)
Masking Tape
1 Flameless tea light

Preparing the paper:

First we took a standard 11″x18″ piece of construction paper and folded it in half ‘hot dog’ style.

Then we measured with our rulers and marked off 1″ increments along the long edge of the paper.

We made an additional line at the opposite side of our markings along the entire edge about 1″ in from the edge. (This would be the place to stop cutting.)

Finally we cut straight lines from our measured markings to the ‘stop line’.

10417562_10206003247426016_6953660053500074109_n

Assembly:
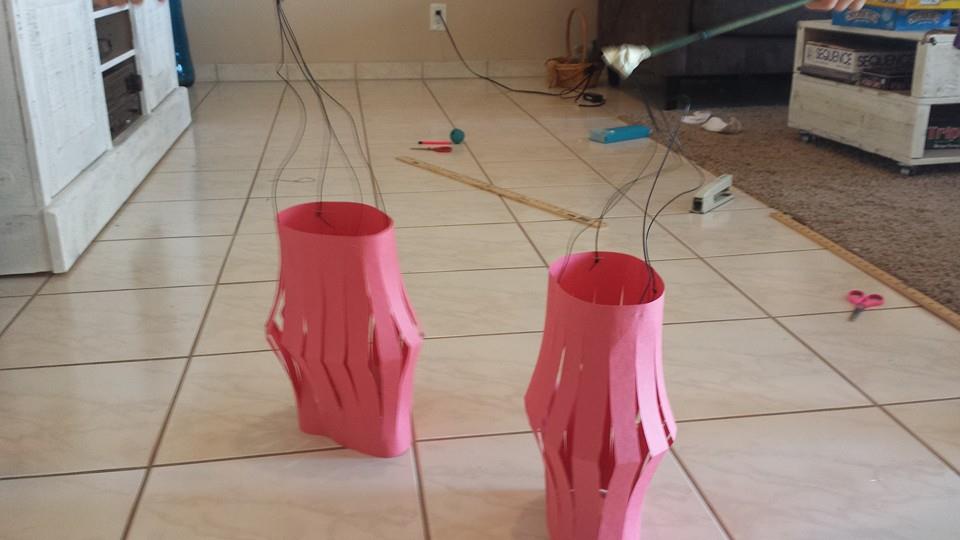
We opened up the folded paper and curled the opened paper into the lantern shape. Then stapled the two short ends of the construction paper together at the top and the bottom of the lantern.

We cut one small strip of paper and fastened it across the bottom of the lantern to hold our candles. (flameless tea lights)

We stapled the strings to the top of our lantern and attached them to a stick with tape.

That’s it. My children took their finished lanterns into a darkened room and bounced them up and down. They both remarked how much the finished lanterns looked like ‘jellyfish’ with the tea lights reflecting inside.

With Chinese New Year coming up I thought this activity also would be fun to share with some of our book club friends too. I hope your children enjoy this craft as much as mine did.

10929021_10206003247146009_8826311810408736420_n

At Home Science: Soil Layers

Soil Layers

Yesterday we sat down with our science books and read about soil layers. Well, if you have read any of my blog posts or even the title of this page you know that ‘reading’ about soil layers was not going to do at this house! So, I sent my children out with a spoon and a jar to collect some soil. I gave them a small list that read something like this:

Rocks and pebbles
sandy soil
bark and leaves

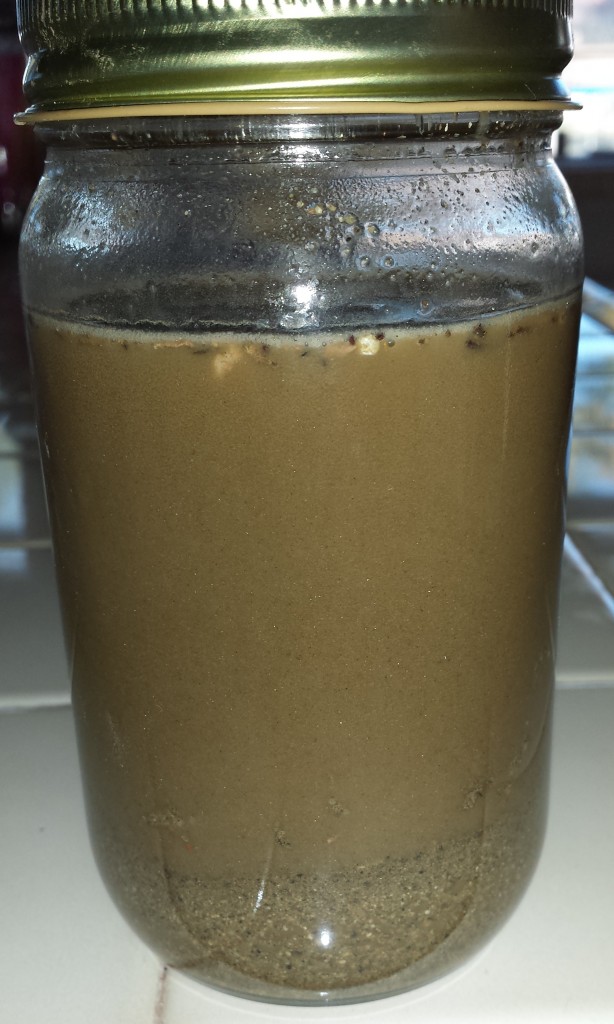
When they came back indoors with their jars 1/2 full we added some water and left a space at the top of the jar for air. Then we shook up the jars. I asked my children to draw a picture of what they saw and describe it. Frankly there wasn’t much to see it was pretty muddy in there.

20150113_100544

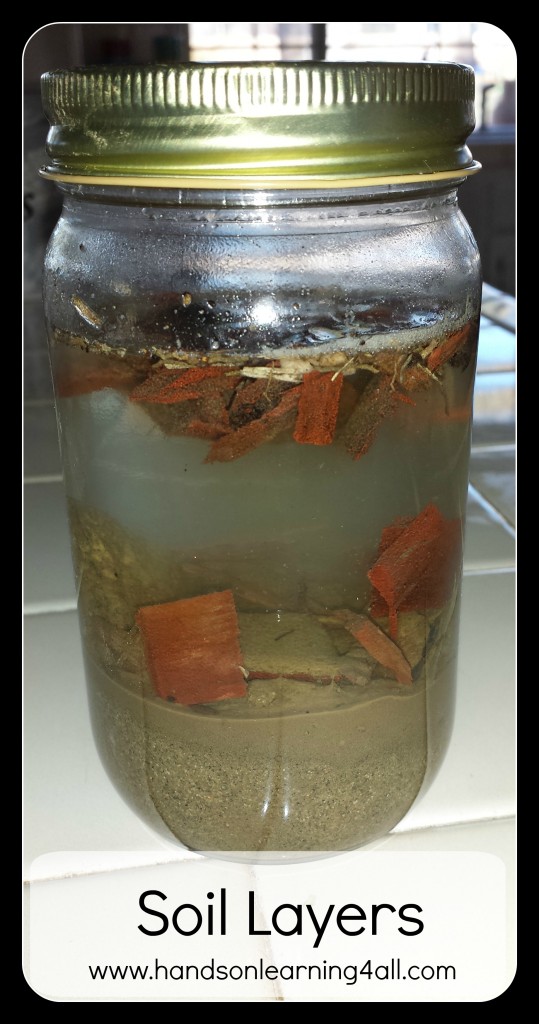
Then we let the jar settle undisturbed on the counter for a few hours and then made another observation. This one was much more descriptive. We were surprised to notice that the large rocks settled on top of the silt and sand at the bottom of the jar. We were also surprised by how clear the water became.

20150113_100512

What did we discuss? We talked about density and how the items that were more dense settled to the bottom of the jar while the items such as the bark and leaves floated on top of the water. We made connections with our history study of the Nile river and how it flooded and made the soil rich for the farmers to grow crops. Finally we drew conclusions on the importance of each layer in the jar in relationship to living things. How insects live in and eat the leaves and bark and break them down into smaller bits which enrich the soil with nutrients for plant roots to absorb. Healthy plant make the healthy food we eat. We discussed how the rocks provided shelter for the wood lice (rolly polly bugs) and ants and made additional connections about how those insects help to aerate the soil which is important for plants to grow.

Of course then my children went back outside to play in the mud….because….mud is FUN!

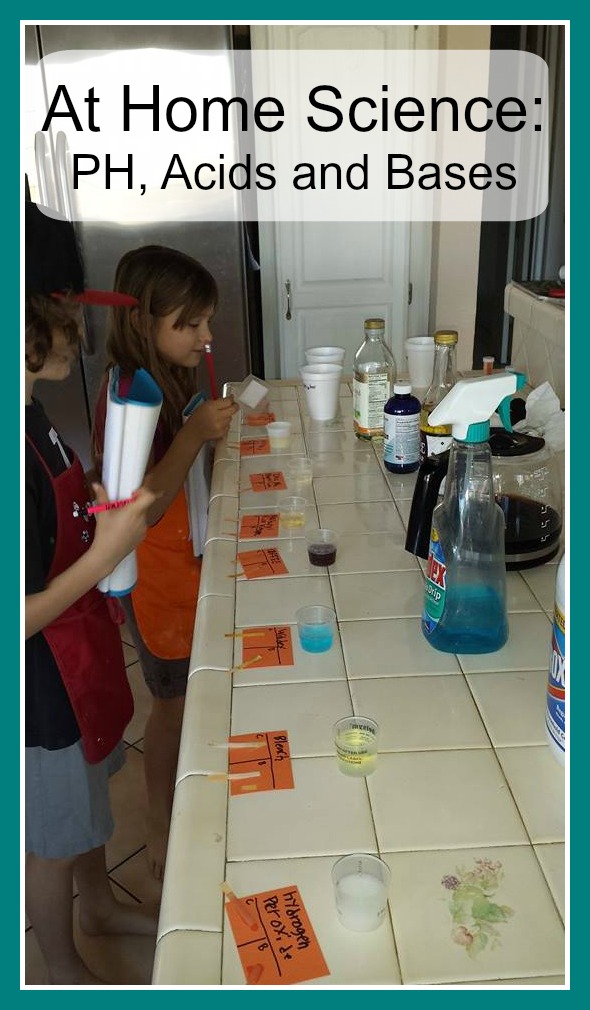
At Home Science: PH, Acids and Bases

At Home Science-PH

Materials:
PH test strips (We used these.)
coffee
windex
bleach
almond oil (any kitchen oil will do)
milk of magnesia
baking soda and water (2tsp baking soda 2 oz water mixed)
vinegar (we used rice wine but any vinegar will do)
hydrogen peroxide
small plastic cups (we used old medicine cups.)
notecards
marker
Protective eyewear
plastic or latex gloves
apron or smock
notebook or journal and pencil

10406431_10152666480529779_709361969902777502_n

Procedure:
1. I laminated the PH reading card that came with our PH test strips so that any stray liquids that may spill on it would not damage the card and prevent us from using it for an accurate reading. I also printed a Testing for Acids and Bases-Background and a Testing for Acids and Bases Experiment Log.
2. We set up our testing station with our items for testing. We placed a labeled index card in front of each testing liquid to put our test strips on after we dipped them in the liquid. We poured a sample of each liquid into the small plastic cups and placed the samples in front of the larger item.
3. We put on our safety gear–> goggles, gloves and aprons.
4. We discussed what we already knew about acids and bases and read the Testing for Acids and Bases Background Document.
5. We began testing by dipping a PH strip into each solution about 1/2 way for about 1 second. Then we placed the wet strip on the index card marked with the liquid tested and observed the results. We continued this process for all of the liquids.
6. We recorded our results on the Testing for Acids and Bases Experiment Log.
7. We completed the Additional Testing section of the Experiment log by mixing the baking soda and water solution with the vinegar and testing the mixture with a PH strip and recorded our results.
8. We finished by writing about the experiment in our own words.

10429834_10152666480579779_7456625594425438223_n

This lesson was very exciting for the children and they came up with all kinds of new thoughts and experiments that they wanted to try. This lesson was also a great extension of our At Home Science: Make Your Own Fire Extinguisher (Learn about O2 and CO2) lesson.

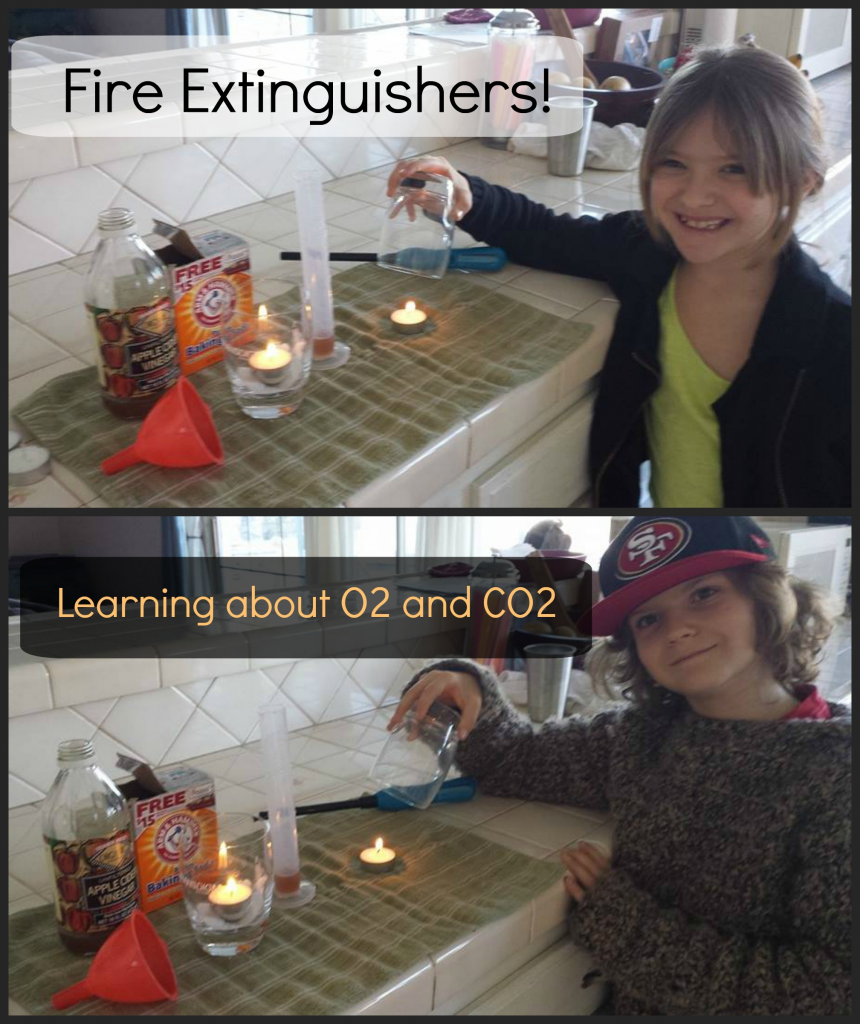
At Home Science: Make a Fire Extinguisher (Learn about O2 and CO2)

Fire Extinguishers
This is our first full week back to homeschool after the holiday break and I have decided to make it a science filled learning adventure! Today we learned about oxygen (O2) and carbon dioxide (CO2) by attempting to make an at home fire extinguisher.

First we got our materials ready:
baking soda
apple cider vinegar (any vinegar will do)
two small glasses
two measuring devices (we used graduated cylinders like these)
small funnel (we needed it to pour the baking soda into our glasses and graduated cylinder, but you could use a teaspoon)
kitchen towel or a small tray
flame igniter or long matches
paper towels (for clean up)

The first experiment that we tried was to extinguish the flame of the candle with the glass. We lit the tea light and then my daughter picked up the glass and placed the glass over the candle. Within a few seconds the flame extinguished and smoke filled the glass. We discussed that the flame needs oxygen, O2, to stay lit. By placing the glass over the candle we limited the amount of O2 that the flame had to use as fuel. Once all of the O2 in the glass was used by the flame the flame no longer had fuel and it went out.

The second experiment that we tried was to create a fire extinguisher by pouring carbon dioxide over the flame. This experiment did not work as planned because we could not start pouring the CO2 (created by baking soda and vinegar in a graduated cylinder) fast enough. So we went on to experiment 3.

For experiment three we measured out equal portions of baking soda and vinegar in our graduated cylinders. Then we placed a tea light candle inside the small glass on top of the vinegar bottle cap. We carefully used the funnel to pour the baking soda all around the candle. (We placed the candle on the cap for additional height.) Then we carefully poured in a small amount of the vinegar until the bubbles rose but did not cover the top of the candle. (We were careful to not pour the vinegar onto the candle flame.) We watched as the flame was extinguished by the CO2. CO2 is heavier than air so the CO2 took the place of the air at the bottom of the glass where the candle flame was therefore replacing the air/fuel for the candle flame and it extinguished the flame. We then tried to relight the candle with our flame lighter and could not. The flame would not ignite because we had the tip of the flame lighter in the area of the glass where the CO2 was filling the glass. We then disturbed the CO2 by blowing air into the glass. We tried to ignite the candle once more and were successful because we had now pushed he CO2 out of the glass and replaced it with air again, therefore providing fuel for our flame.

What did we learn?
-Air and all gasses take up space
-CO2 is created when you mix baking soda and vinegar
-CO2 is heavier than air
-Flames need oxygen
-CO2 extinguished flames

After these experiments were complete my children came up with all kinds of additional experiments they would like to try to get the CO2 to pour onto the flame using tubes and tape. I love how these kitchen materials were able to be used in a great way to spark learning and ‘ignite’ the flames of inspiration in my children! I LOVE homeschool!

Learning Science Naturally: Grasshoppers!

Learn Science Naturally-grasshopper

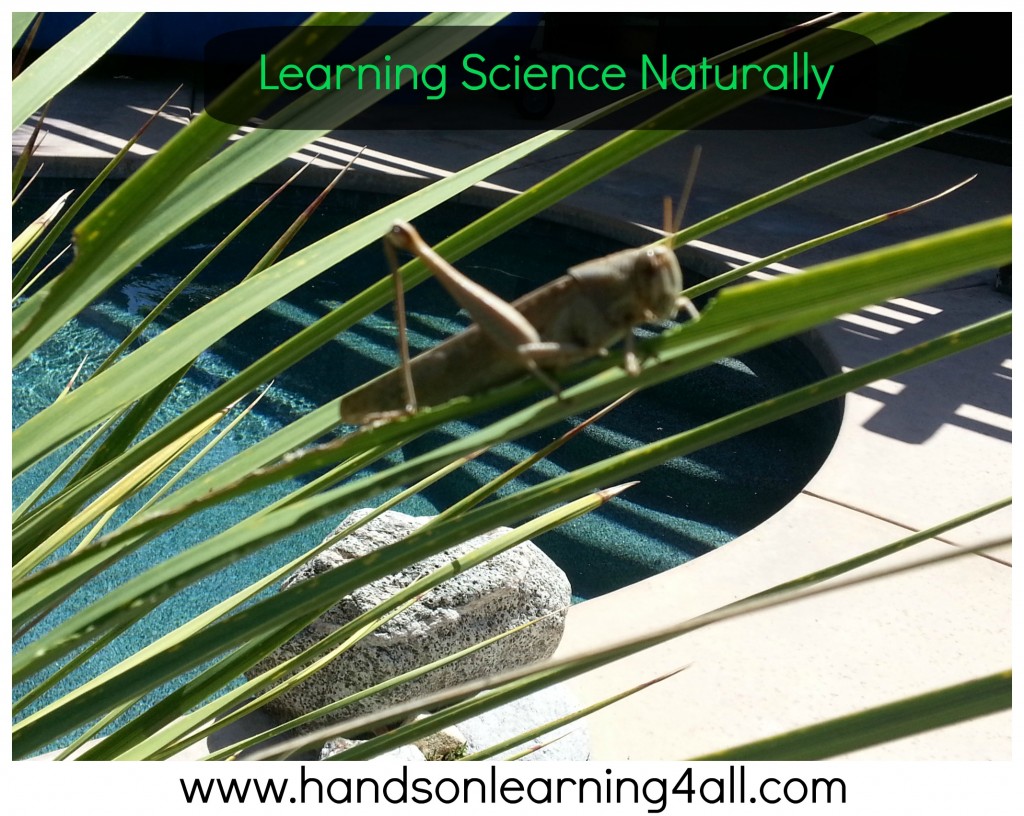
We took home-school outside today because the weather was so beautiful! As we sat at our outdoor table with our books and we completed a lesson in science, it occurred to me that SCIENCE was all around us. So we did some exploring and found this little guy! My daughter named him Tom!

Learn Science Naturally-grasshopper2

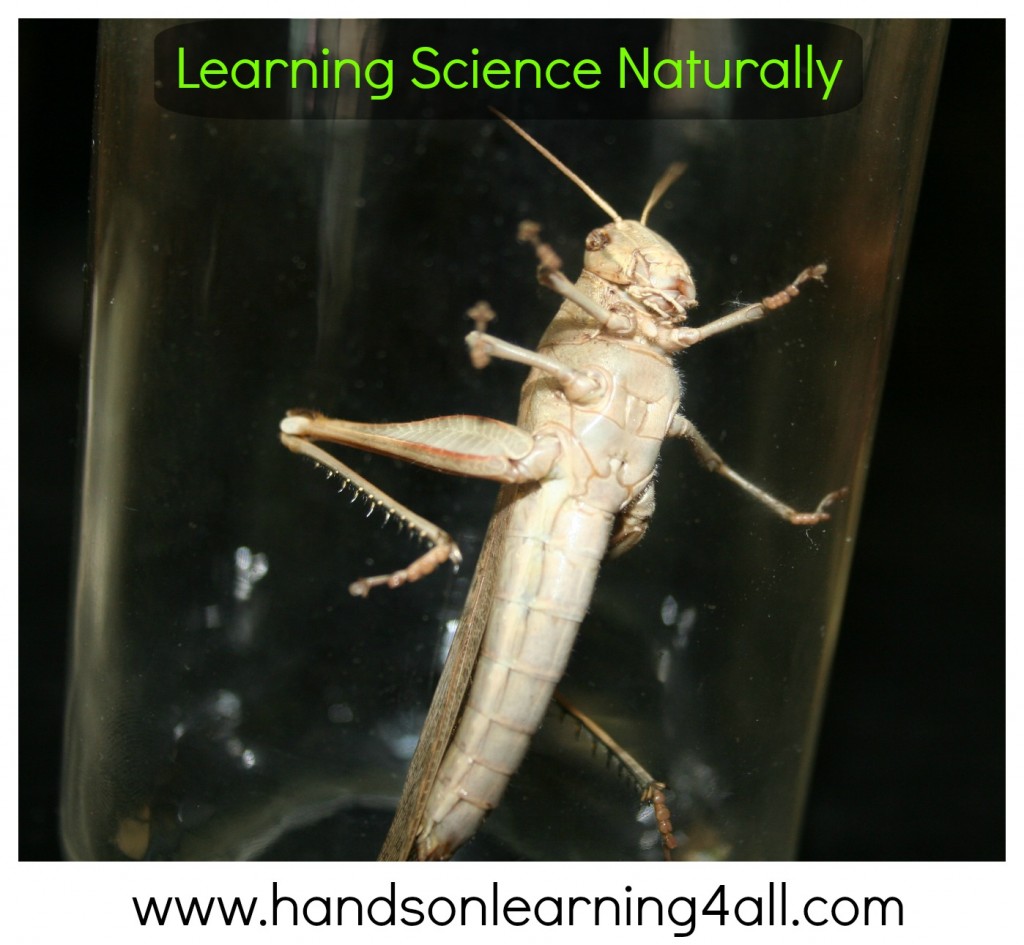
We got out our science journals and took some observation notes about ‘TOM’ in his natural environment. He was happily munching on these tree leaves and we were able to see him using his mandible and palps. We took note of his antenna and how they moved around while he was eating. We decided we wanted a closer look so we carefully captured TOM (the grasshopper) in a glass jar and put the lid on loosely. Then we got our magnifying glasses out and did some closer observations.

We could easily see this grasshopper’s exoskeleton and we discussed how it would serve as protection for him. We were fortunate enough to observe him go to the bathroom too! So we talked about what we might see inside of a grasshopper–> A digestive system but NO bones!
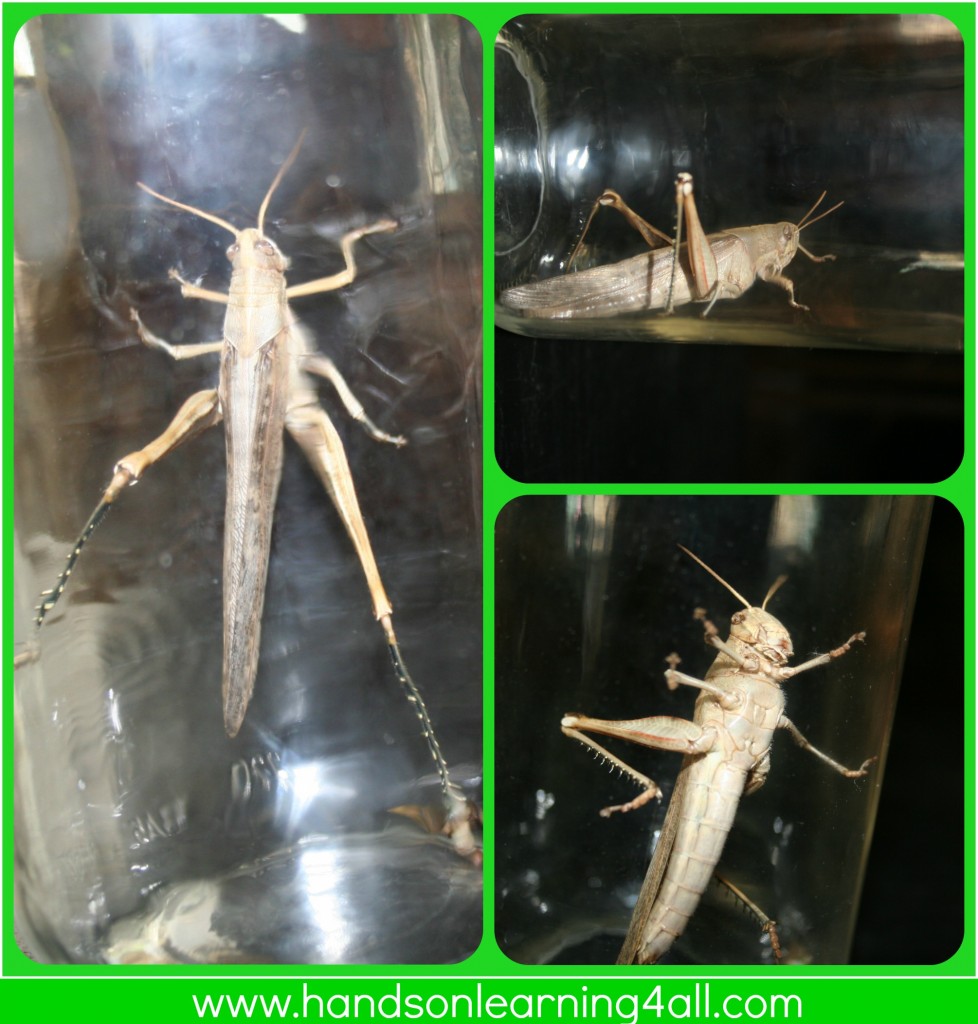
Grasshopper_bw

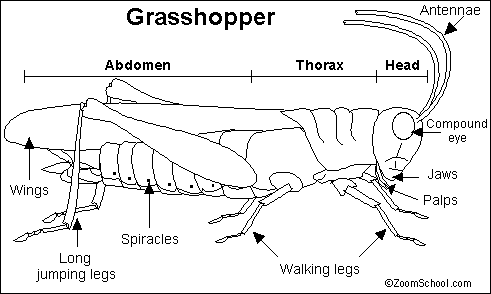
We then did a bit of research and were able to name and label his body parts on some pictures that we drew. We also learned some facts about grasshoppers like:

  • Grasshoppers can jump 20 times their own length. We measured our grasshopper using a ruler and then calculated the distance that he could jump by doing the multiplication!
  • Grasshoppers can live on every continent except for at the poles. We took out our globe and named all of the continents that grasshoppers could live on.
  • There are more than 18,000 different species of grasshoppers. We looked at some pictures of various species online.
  • Grasshoppers are herbivores and only eat plants. We drew the conclusion that they could do some real damage to our vegetable garden based on the amount of leaves he had already eaten on the tree where we found him.
  • We recalled that the Magic Tree House book, Twister on Tuesday, mentioned the damage that a swarm of grasshoppers could cause to crops and even household items like clothes and sheets.

Grasshopper collage

There were many other observations and discussions that we had based solely on discovering a little grasshopper in our backyard! I encourage you to take science outdoors the next time you get into a learning ‘slump’ and see what you can discover!

Resources:
Below are some of the resources we used for our learning:
*Bug Facts.net: http://www.bugfacts.net/grasshopper.php
*EHow- Interesting Facts-Grasshoppers: http://www.ehow.com/info_8503914_interesting-grasshoppers-kids.html
*Twister on Tuesday: http://amzn.to/1mfIGnm