Mixing, Pouring and other ‘Childish’ things!

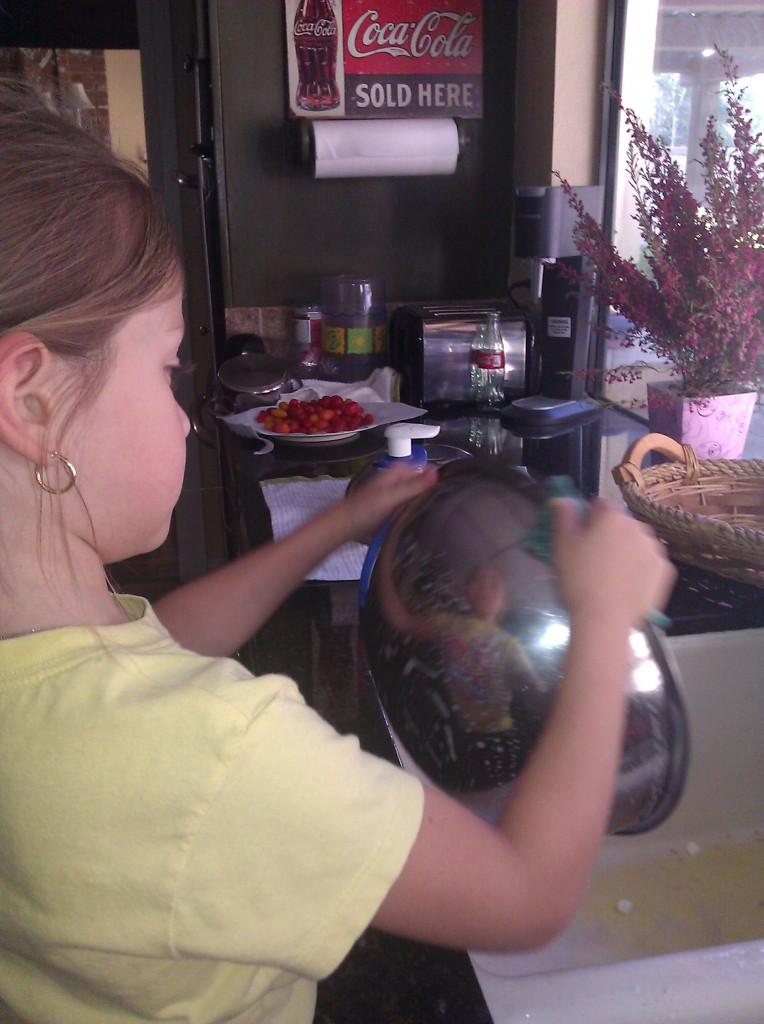
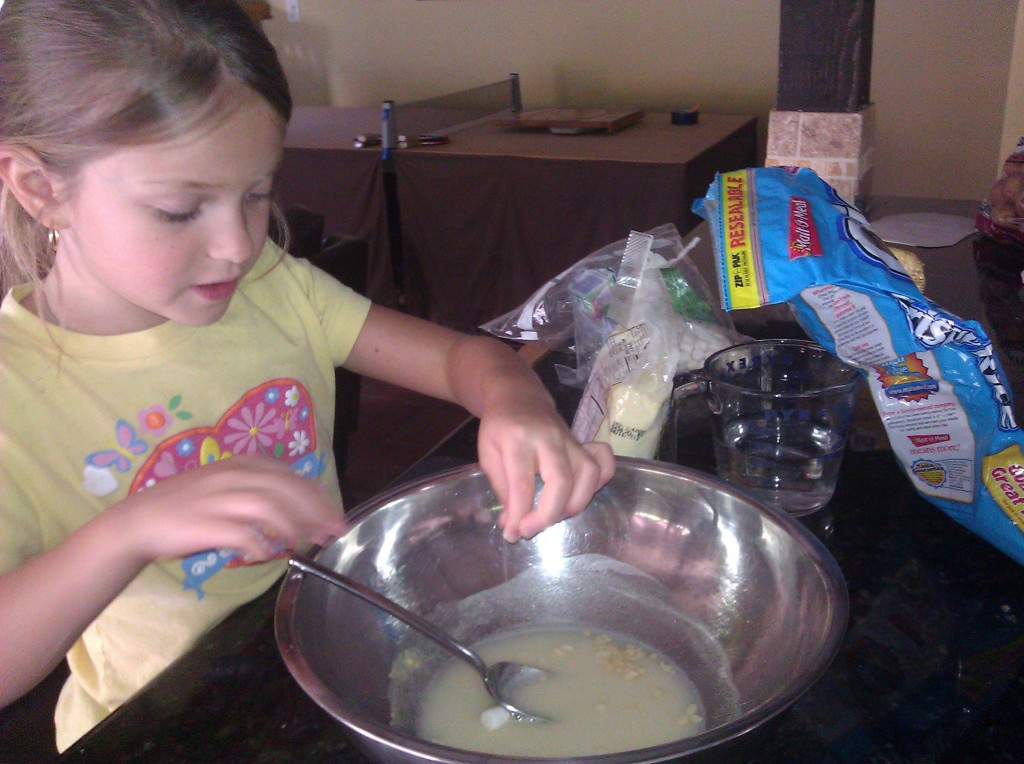
My daughter is doing her Kitchen Chemistry while I get dinner prepared!

My daughter is doing her Kitchen Chemistry while I get dinner prepared!

When I was a kid I loved going into the bathroom (of all places) and mixing products together like a scientist. My sister and I would use dixie cups from the bathroom and mix toothpaste, baby powder, water, baby oil, lotion—anything we could get our hands on—in those cups to make potions.

Guess what? My sister is a scientist for a pharmaceutical company today, and I love cooking in the kitchen! So what does that mean? You have probably heard this a million times but I am here to repeat it to you….playing is work for kids. Kids really need to mix, explore, and get their hands dirty every day! AND when they do, you will see magic happen. My six year old is using words like ‘dissolve’, ‘solution’, and ‘incorporate’ as she mixes random ingredients from our pantry closet.

To get them started just start saving things that you won’t need anymore. Ingredients from a recipe that didn’t work out and you will never try again. Or give them inexpensive ingredients like flour, salt, and sugar to work with. Save these ingredients in a special cabinet or drawer that they can access when they want to do kitchen mixing. (We call it mixing without tasting.) I even bought my kids special measuring cups and spoons for this activity, but you don’t have to. Just make a rule that they have to ask you for the stuff they can use (to make sure they don’t use every measuring cup you have while you are trying to bake a cake!)

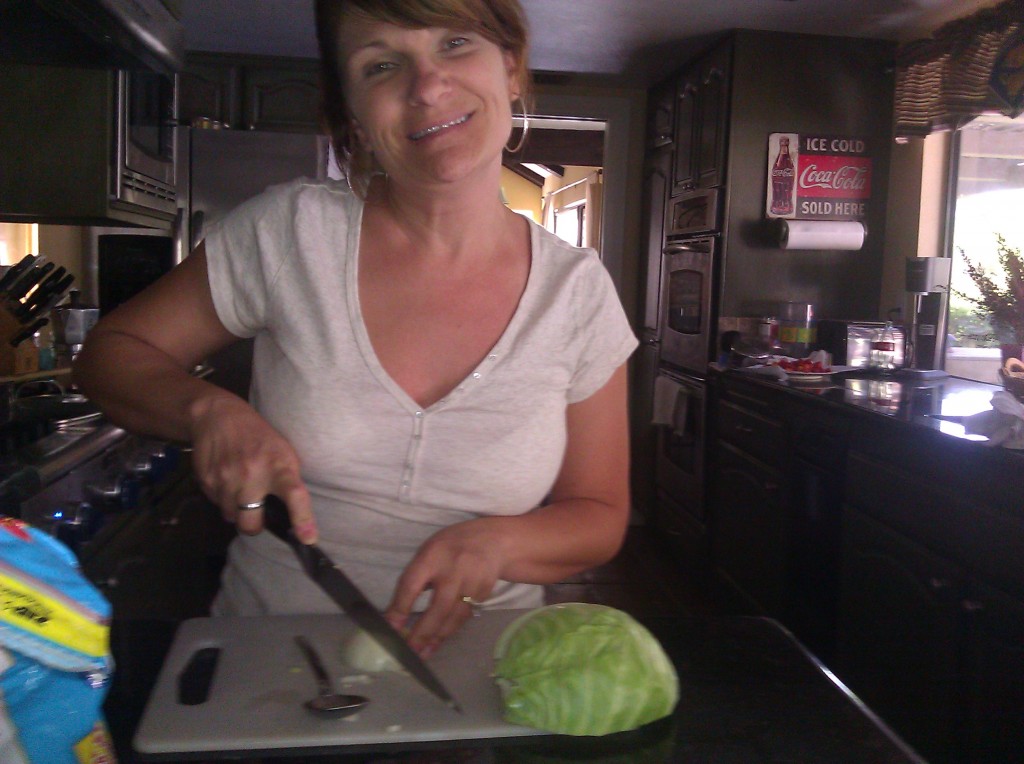
This is me---cooking dinner while my daughter is doing her kitchen mixing! (She took the picture!)

This is me—cooking dinner while my daughter is doing her kitchen mixing! (She took the picture!)

Not only is this a great activity to keep them busy while you are cooking, but it is also a great way to get them thinking about science, cooking, language, and math. I give my children measuring spoons and cups and pieces of paper and pencils to write down their recipes. Anything they can practice as a child may become a career later in life. So get your children playing—-I mean working!

Clean up is part of the game!

Clean up is part of the game!

Plus the clean up is also a part of the activity. They pretend they are real parents cleaning up the kitchen. My kids LOVE this activity and can do it for at least an hour. Definitely enough time for me to get dinner prepared and my work space cleaned up! Yay! What can you do with an hour of time?!

Make your own ‘Flubber’– it’s like silly putty!

Flubber is a fun, putty-like substance that is different than regular play dough. It flows and moves but it is not as liquid as slime. You have to give this stuff a try. It is super easy to make and my kids LOVE to play with it. BONUS–there is a lot of science that can be discussed with this stuff!

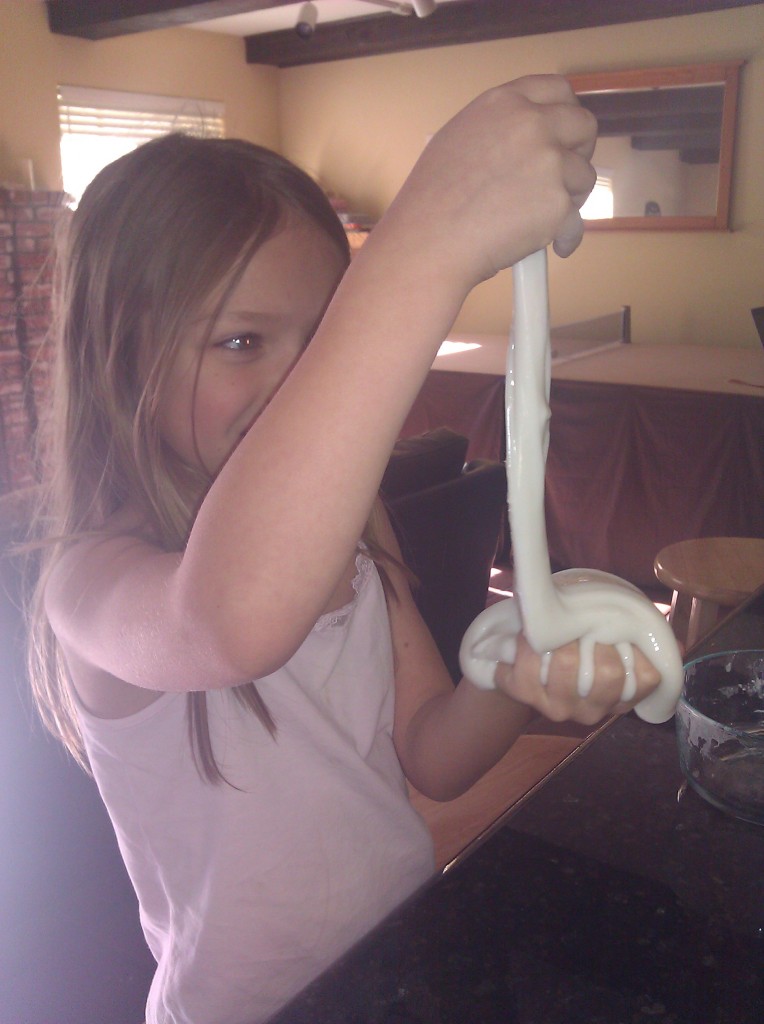
Playing with Flubber!

Playing with Flubber!

I used this recipe from Food.com

  • 1 1/2 cups warm water
  • 2 cups white glue
  • food coloring (I didn’t use this)
  • 1 1/3 cups warm water
  • 3 teaspoons borax

Directions:

  1. In one container mix 1 1/2 cups warm water, white glue and a few drops of food coloring.
  2. In a second container mix 1 1/3 cups of warm water and Borax.
  3. Mix the Borax mixture into the glue mixture until combined. (may be some liquid in bottom of container).
  4. Place Flubber on a tray and let stand for a few minutes before playing with it!
  5. Store in air tight container.

Read more at: http://www.food.com/recipe/flubber-134095?oc=linkback

You can use the extra borax in your laundry. Works wonderfully on whites! (I tested this out because we bought the extra big box of borax for our Flubber too!)

Science of Flubber: It’s not just for little kids!

Definition:
Flubber is a polymer. Polymers are very long chains of repeating molecules. A chemical reaction between the polymer from the white glue (polyvinyl acetate) and the borax (borate ions) causes the molecules to link together in a 3-dimensional configuration creating FLUBBER!

Properties
“Flubber is a non-Newtonian fluid that flows under low stress, but breaks under higher stresses and pressures. This combination of fluid-like and solid-like properties makes it a Maxwell solid.” (Quoted from “Wikipedia”)”

Well that’s all well and good but does it help us learn anything?
I recently used Flubber at a book club meeting to visualize glacial flow. Flubber acts a lot like glacial ice. When it is cold it flows slowly. When it is warm it flows quickly. When you pull at it quickly it shears–just like when glaciers fall off a cliff into the ocean. (See the first source below for more information on demonstrating glacial flow with Flubber.)

Another use for flubber in teaching is to demonstrate a chemical reaction. By combining two different elements you can create a completely different substance.

Here are a few everyday objects that are made with polymers:

  • anything plastic
  • proteins, such as hair, nails, tortoise shell
  • cellulose in paper and trees
  • DNA
  • silly putty
  • rubber
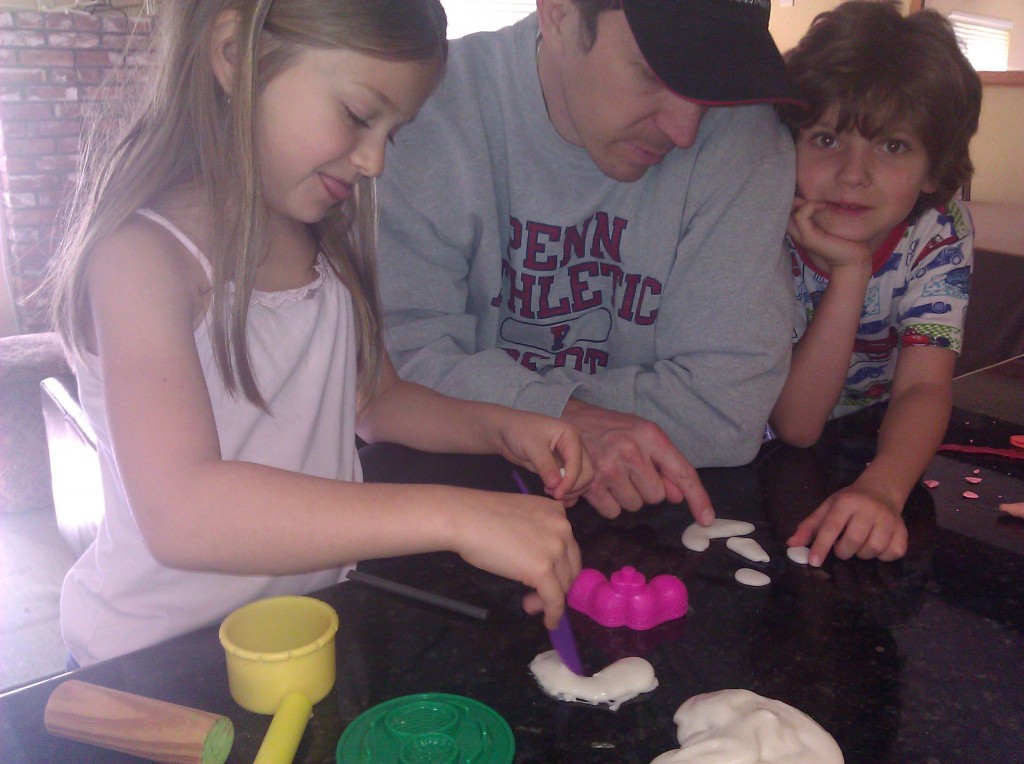
Flubber is fun for adults and kids!

Flubber is fun for adults and kids!

I hope that you will find time to make and play with Flubber with your kids. My husband has been playing with flubber with my daughter the entire time I have been writing this article. PROOF that it is as fun for adults and children to play with! Enjoy!


You can buy the Magic School Bus Polymer Lab from Amazon and help support Hands On Learning 4 All.com


Sources:

A Spring Break Activity for Your Kids: Science that POPS!

Spring Break is a great time of the year. The kiddos are ready for a break from school and the weather often permits them to get outside and have some fun. But do your kids want to just watch the tv or play video games? This drives me crazy. My son LOVES his Wii but we have to regulate his time or he would play it forever. Sometimes (even with the hundreds of toys that we have) he says, “I’m bored.” So I have to stimulate his creative thinking with a high interest activity. The activity below worked for all of my children. They got so excited they wanted to do many tests to see which one worked the best and produced the biggest ‘pop’.

Volcanos and Chemistry:

Chemical reactions are fun. It’s like a bit of science magic. This experiment uses household items from your kitchen to create a safe non-toxic reaction.

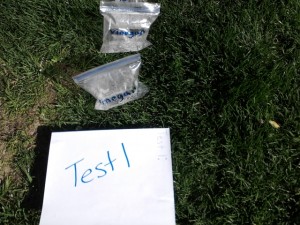
Our Test Bags: Baking Soda Tablets and Vinegar="POP!"

Our Test Bags: Baking Soda Tablets and Vinegar=”POP!”

Here’s what you will need:

  1. Baking Soda Tablets (alaseltzer or generic): Sodium Bicarbonate – 4 Tablets
  2. White Vinegar
  3. Water
  4. Ziplock Bag

Directions:

  1. Open the Sodium Bicarbonate Tablets and stack them.
  2. Open the ziplock bag and pour in about 1″ of vinegar.
  3. Carefully pinch the tablets inside the bag near the top, but do not allow them to fall into the vinegar.
  4. Zip the bag closed ( you will need a partner to help you ) but do not drop the tablets into the vinegar
  5. Drop the tablets and shake the bag 4-5 times fast. Then put the bag down and move back at least 5 feet.
  6. The bag will fill up with gas and pop when it can no longer hold the gas that the sodium bicarbonate and the vinegar create.

What Happened?

Vinegar has acetic acid and its chemical formula is CH3COOH. Sodium Bicarbonate or Baking Soda’s chemical formula is NaHCO3. The reaction between the two compounds looks like this CH3COOH + NaHCO3 -> H2O + NaOCOCH3 + CO2. Everything past the arrow is what is left after the reaction. If you wait until your bag is completely liquid and no more bubbles are produced you can sniff your results. (Pour the remaining solution into a cup and smell it.) It should smell like salty water. H2O is water. NaOCOCH3 is a salt known as sodium acetate. CO2 is carbon dioxide that is the gas you saw fill the bag and the bubbles you saw forming.

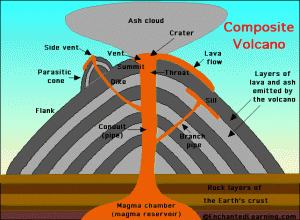
volcanodiagram

How does this relate to volcanoes?

Volcanoes are mountains or hills that are typically cone shaped that have a vent in the earth’s crust through which lava, steam, and ashes are expelled. The pressure builds up below the earth’s surface. When the pressure gets very high the hot melted rock called magma travels up through the conduit (or pipe) and breaks the surface of the volcano often filled with rock and/or water. The great explosion releases the magma which flows down the side of the volcano mountain. As the magma cools down it turns back into solid rock.

Your bag filled up with pressure from the chemical reaction of the baking soda tablet and vinegar and eventually ‘popped’ like the volcano explodes from the pressure of the hot magma. Pretty cool, huh?

Want a few books to read to go along with your Volcano activity?


Come back soon to see my next spring break activity!