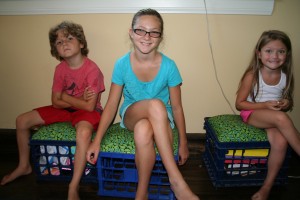
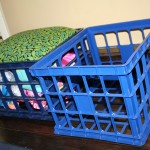
Here is a tutorial on how to build your own milk crate seats. I have seen these done all over Pinterest but no one has a good tutorial on how to actually get it done. So I thought I would show you how I made mine. It is really very easy and if you use your buyers knowledge and find inexpensive materials each one will cost you under $10. I had the crates, particle board, and the quilt foam sheeting so three crates only cost me $15. (My fabric was $7 per yard.)
Materials:
1/2″ MDF or Particle board cut to the size of the inside ‘lip’ of your milk crate.
Staple gun and staples
Foam sheet for quilting
Pillow stuffing foam
Fabric (if you are only doing one crate 1 yrd will be plenty. I did 3 crates and used 2 yrds of fabric.)
Directions:
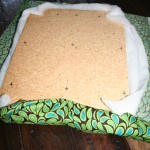
1. Measure the inside ‘lip’ of the crate. This is where your cushion will rest and create a seat—AND storage later. Either cut your MDF or particle board or have it cut for you in the dimensions you measured. A little smaller is better than a little bigger because you will be adding a little thickness with the foam and fabric later
2. Cut your quilt sheeting just a little bigger than your board.(Remove board for next step.)
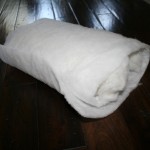
3. Rest your pillow stuffing on top of the quilt sheeting and wrap the pillow stuffing in the quilt sheeting. We will call this the ‘pillow top’.
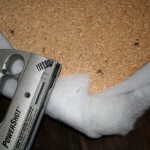
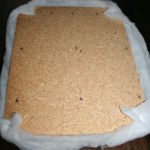
4. Begin stapling the corners of the pillow top to the board.
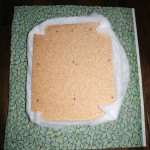
5. Cut fabric a bit bigger than the board with pillow top. (You will want enough extra fabric to fold over the raw edges before you staple the fabric to the board.)
6. Fold over fabric raw edge and begin stapling in the center of one of the sides.
7. Work around all of the sides in the same fashion.
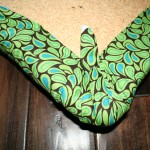
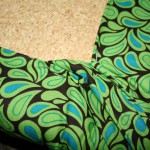
8. Pinch together corners of the fabric and staple the corner. Then tuck the extra fabric from the ‘pinched fabric’ into the folded side and staple again. (See photos) Work around until all corners are stapled. Staple around the fabric edges until none of the fabric is loose.
9. That’s it! Just fit your finished top back onto the crate and you have a crafty seat that is also storage. I am using this in my homeschool classroom but I can see these in a kid’s room for a reading area too.
Photos:
|
| |

